Tuesday, 23 December 2014

The Panettone.


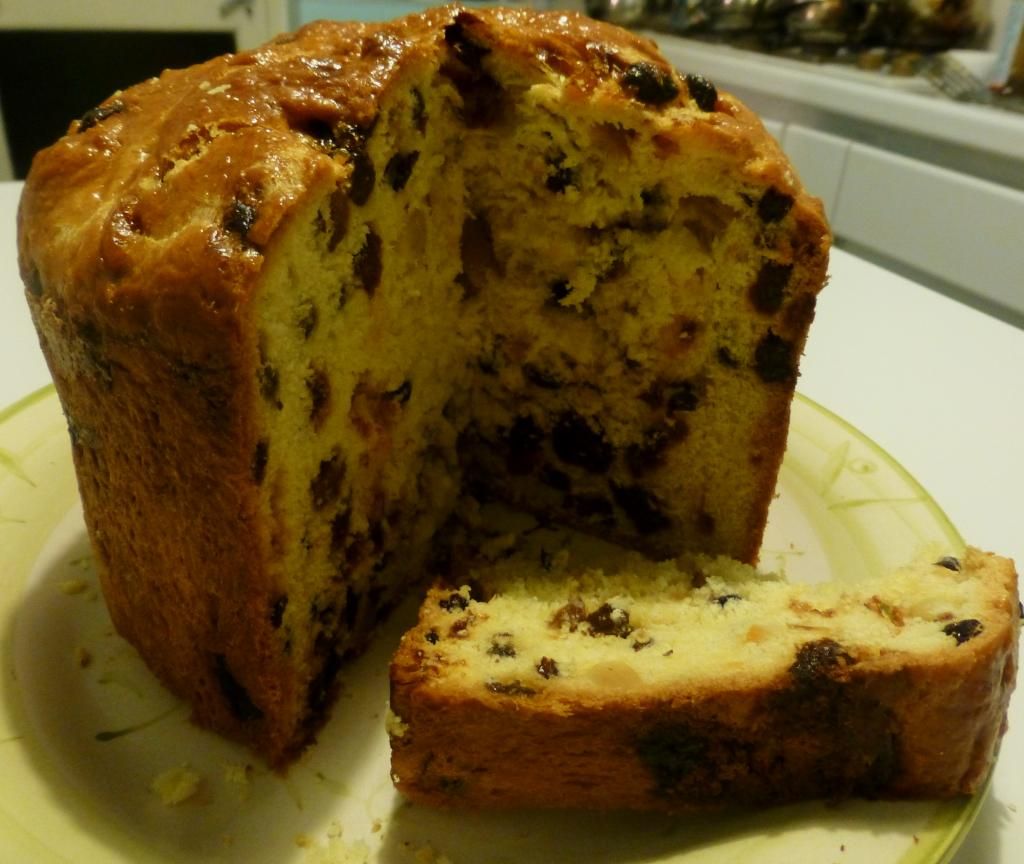
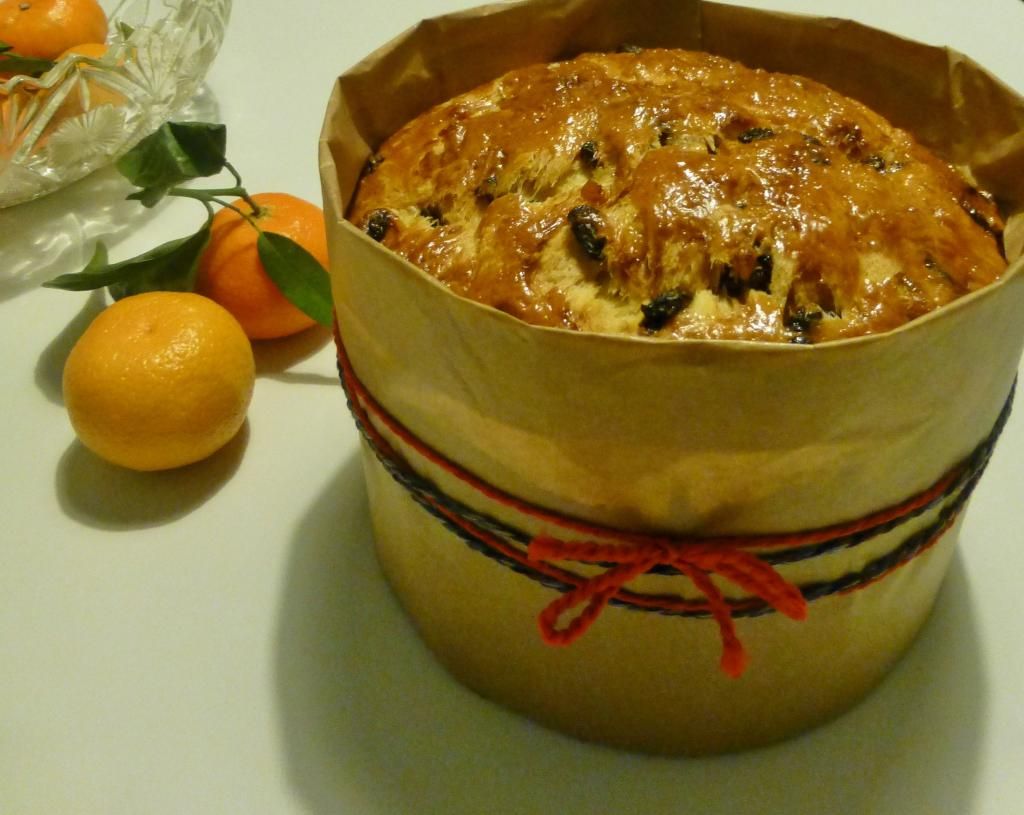
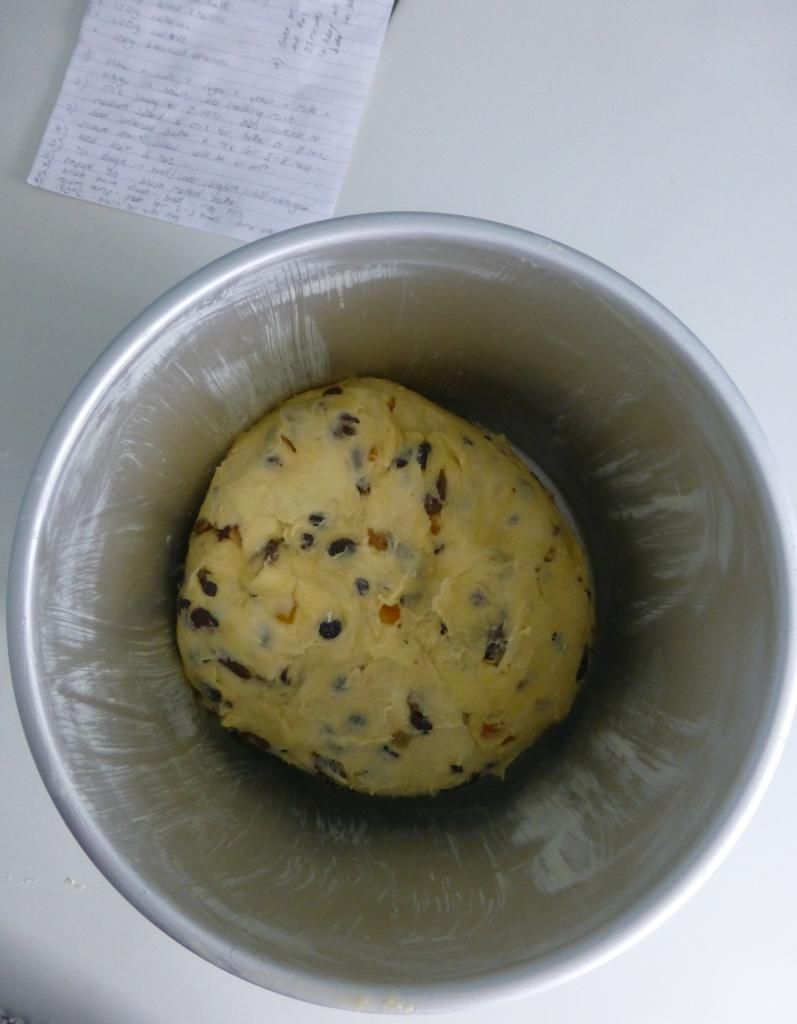
It's that time of year again! The only time of year that I buy a panettone. I know the supermarkets already do a pretty good job of these Italian fruit bread things, but this year I thought I'd give it a go for myself. It is quite involved, but worth it! The dough needs to chill over night, as well as prove for 2-3 hours the next day. The recipe also asks for 5 eggs! I found the dough didn't quite rise enough, so it may seem a little stunted. 

The panettone also has a nice little story behind it. This particular fruit bread was created by a Milanese baker, trying to tempt and win the heart of a woman who often walked past his bakery. So there you have it! That is how the panettone, or pan de toni (or less romantically, Tony's bread), came into being.

It's probably best eaten within the first couple of days - unless you have a panettone-sized storage tin lurking in your cupboard to make it last a bit longer.  And of course it's a Paul Hollywood recipe - thought it would be a good one, seeing as he is a bit of bread expert. 
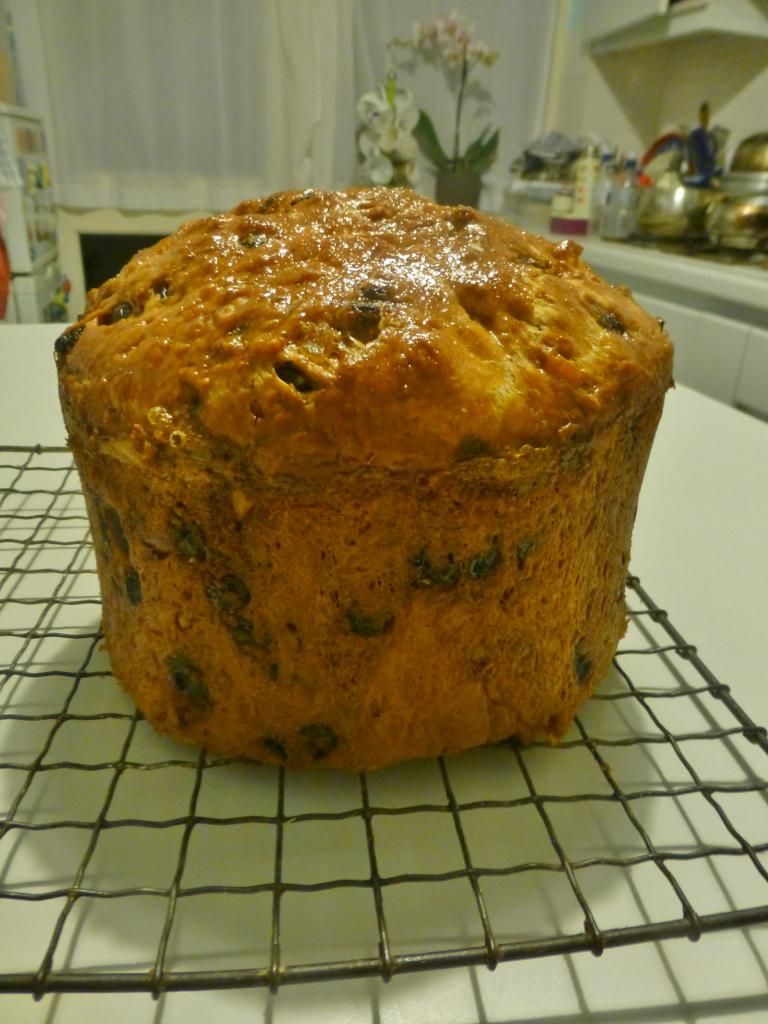

Merry Christmas one and all. Have a slice of Tony's bread on me :D


Wednesday, 10 December 2014

Christmas Special: Speculaas Engelen.

Oh hello! Let me introduce myself, I'm Anisah and I like to bake. The reason I say this is because I haven't done a blog post in a million years! I apologise! But don't worry, I haven't disappeared off the face of the earth (not that you've missed me...teehee). So after all this time, I've decided to bake something Christmas-sy for you. Enjoy :D
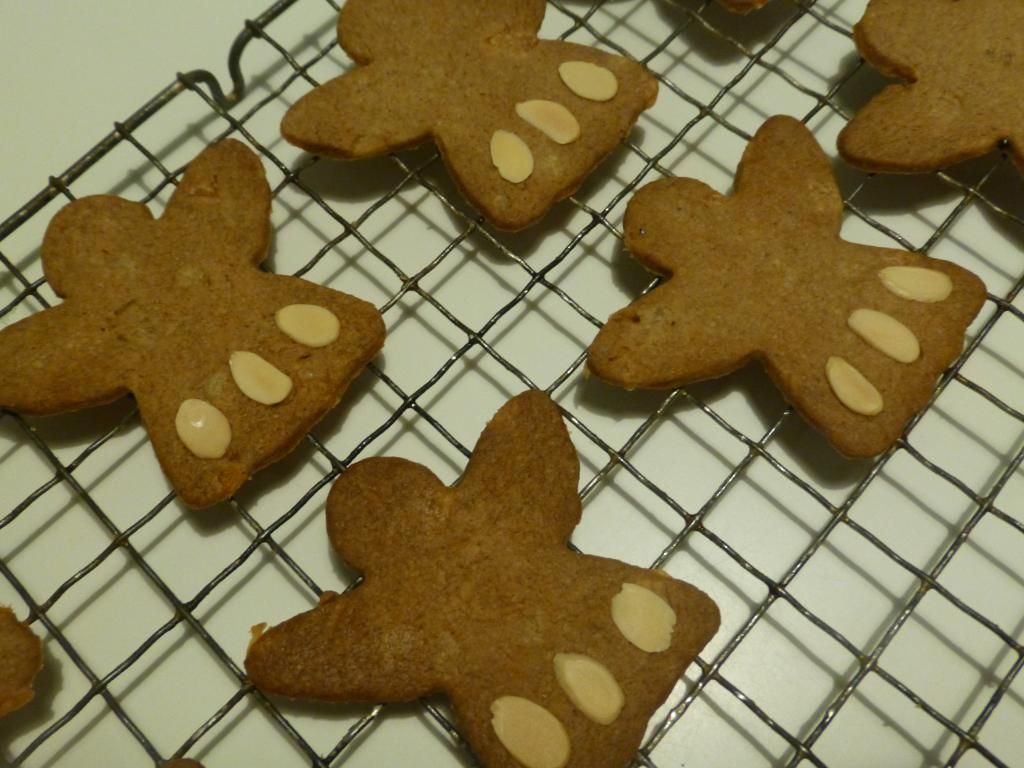
I've made Christmas cake, I've made mince pies (these may feature on the blog at a later date), but I wanted to make something a little bit different today. Speculaas! Speculaas is a spiced biscuit from the Netherlands, often given as a gift at this time of year. When I was young, we always had a mini celebration of Sinterklaas (Saint Nicholas Day) on the 5th and 6th December. My Mum is Dutch, so it was just something we did (and probably a good way of keeping us quiet in those weeks before Christmas). Any excuse for more food and presents I suppose!

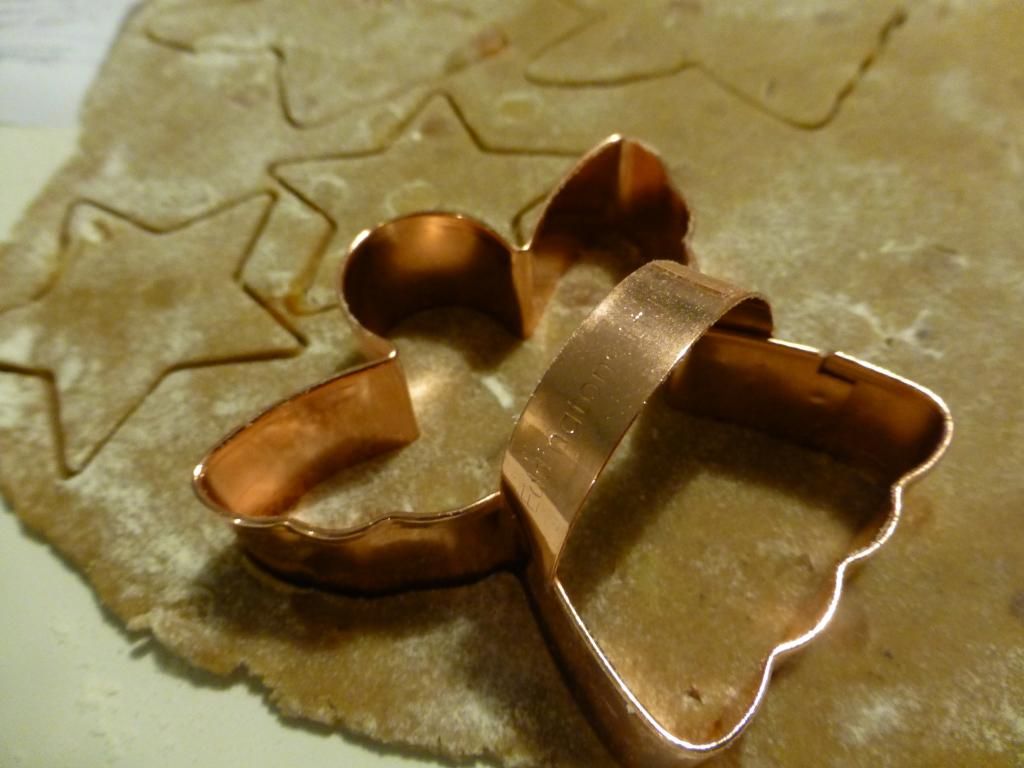
I used the recipe from the BBC food website. I also bought a lovely copper angel biscuit cutter recently- so I felt that this was the perfect opportunity to use it (hence the speculaas engelen).


Please note...I don't normally post photos of myself, but I just wanted to show off my Christmas jumper and all that. Anyway, hopefully a couple more posts may appear in the next couple of weeks. Merry Christmas :D x
Sunday, 16 February 2014

Sweethearts.

Hello hello! Still here! Wishing you all a happy and healthy (!!!) 2014.

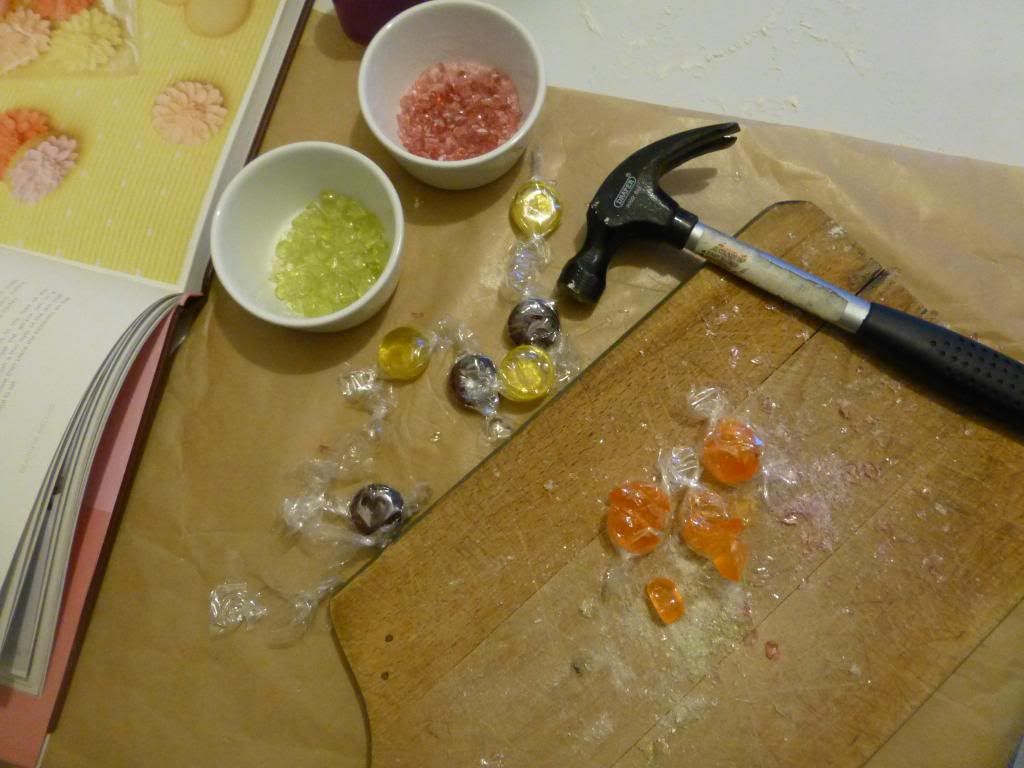
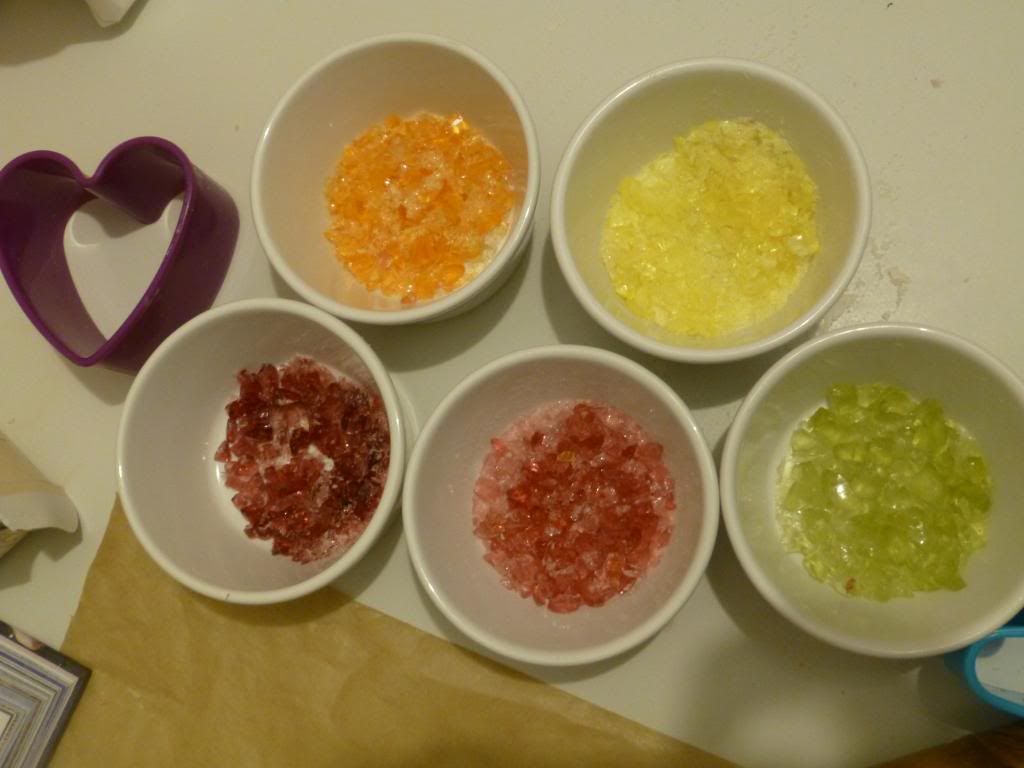
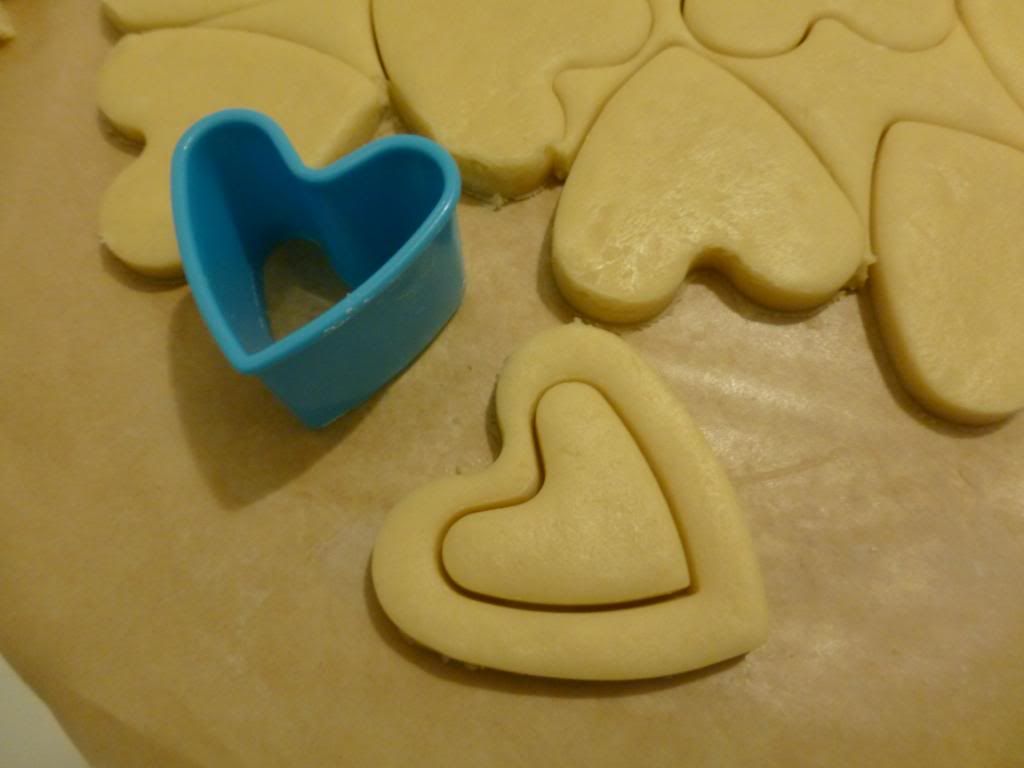
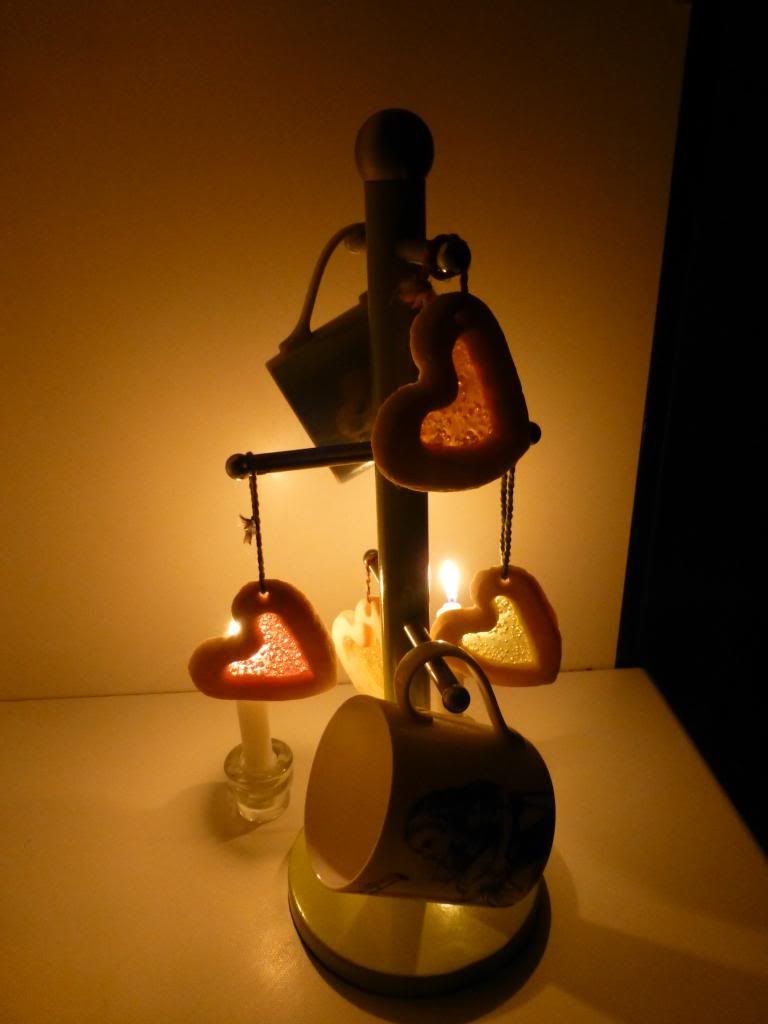
I was meaning to post over Christmas and New Year with an idea for some Christmas tree decorations, but time ran away with me! So instead, in the spirit of Valentine's day, I decided to make something a little bit different. Using the Paul Hollywood shortbread recipe , a heart-shaped biscuit cutter and a few boiled sweets, this is what you can do...

N.B. Bake for 10 minutes, add the boiled sweets, then bake for a further 10-15 minutes.


Made with love (and a hammer)
 :) xxo

Thursday, 31 October 2013

Cake and Cobwebs.

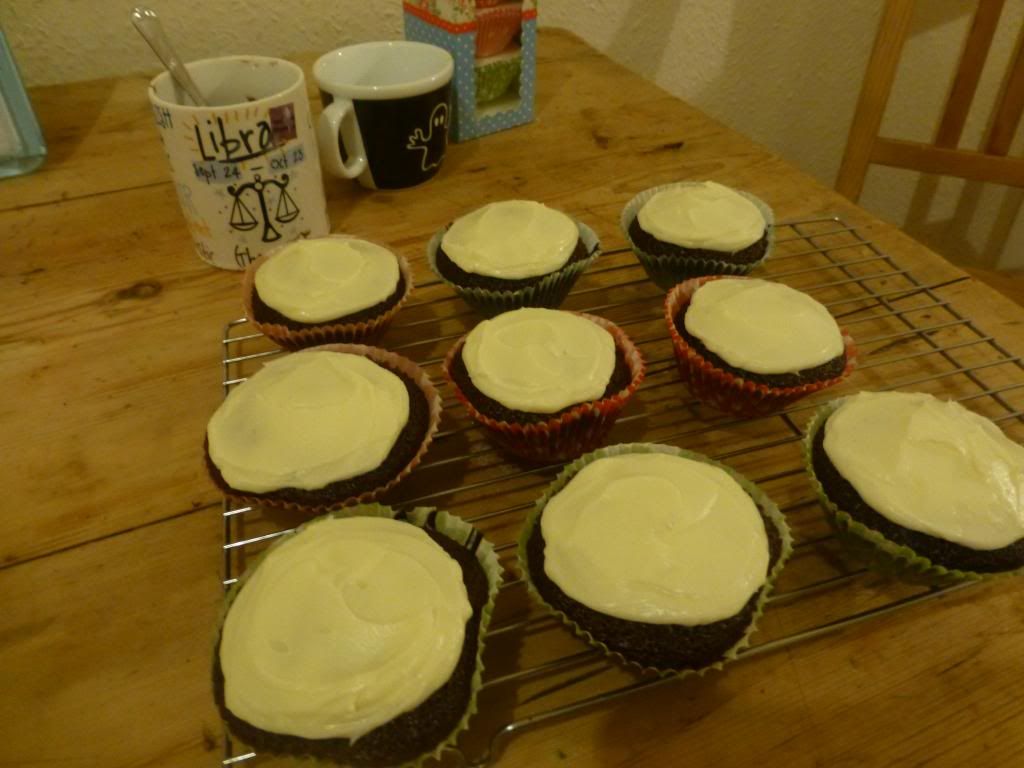
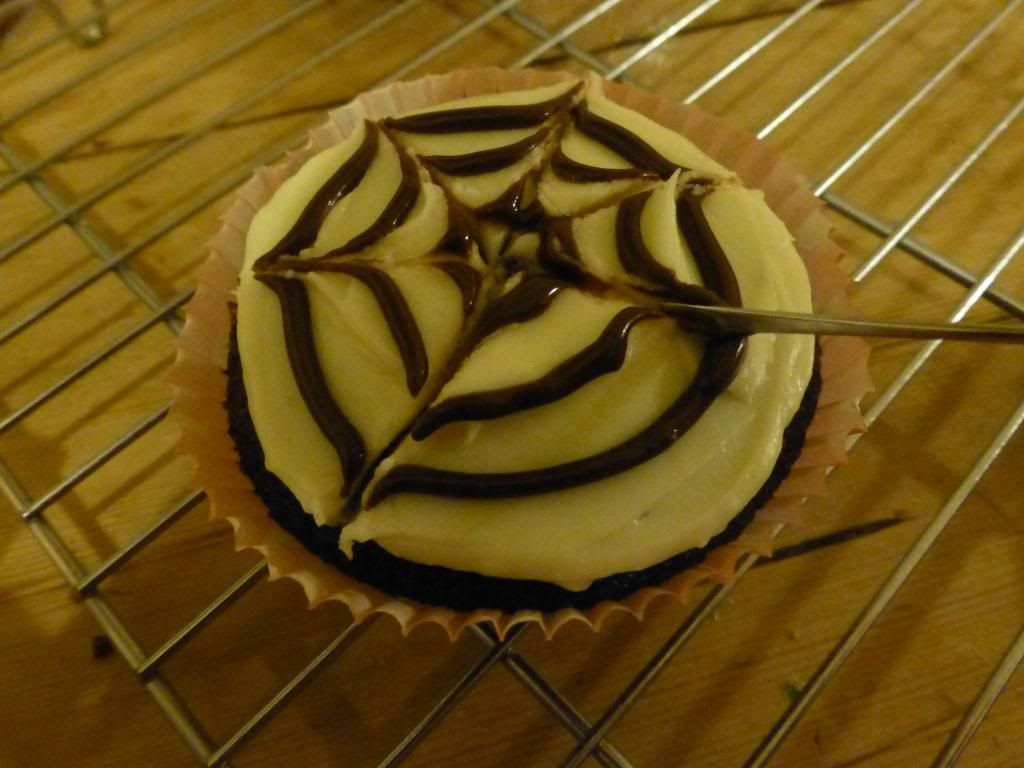
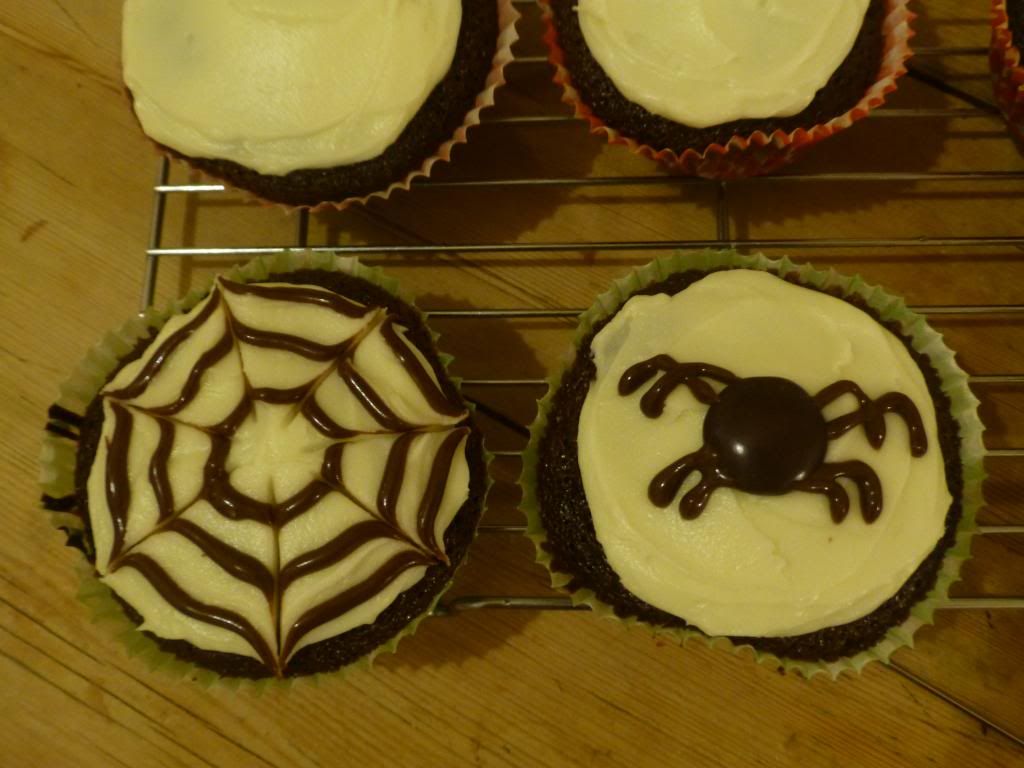
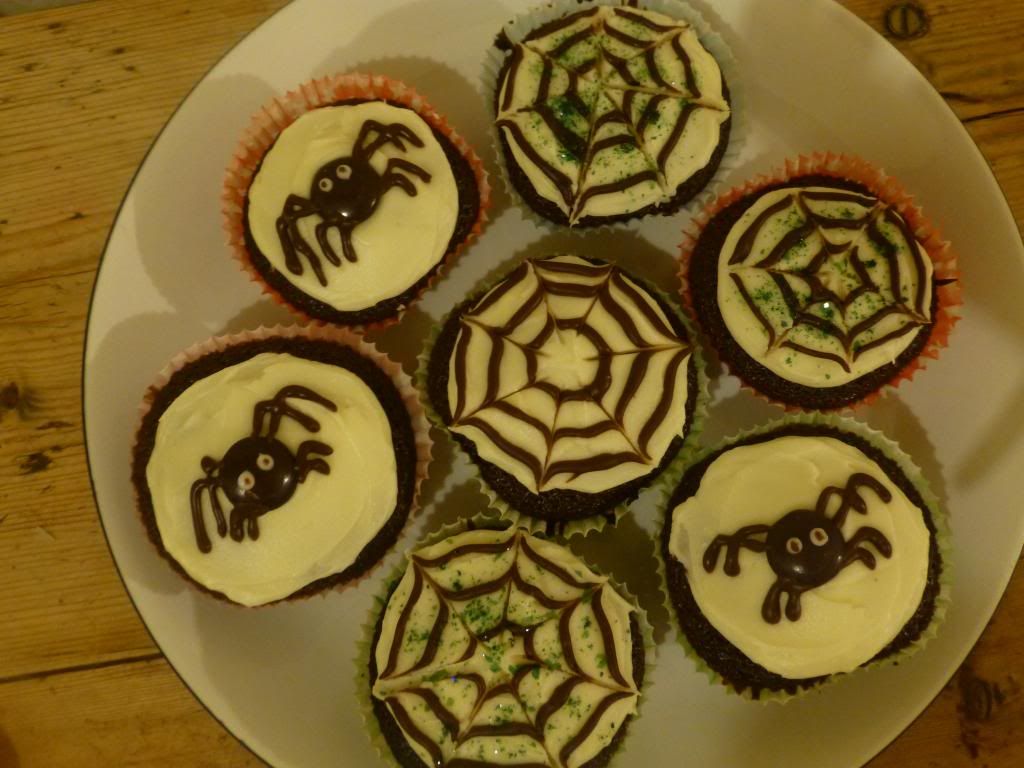
BOO! Thought I'd give a little post mid-term to say that I'm still around..baking..reading..essays..blergh! So here I am, dusting off the cobwebs (sorry) and well..putting them on cakes. I used the Halloween cupcakes recipe from the BBC food website. I had a go at making some spider design ones too!


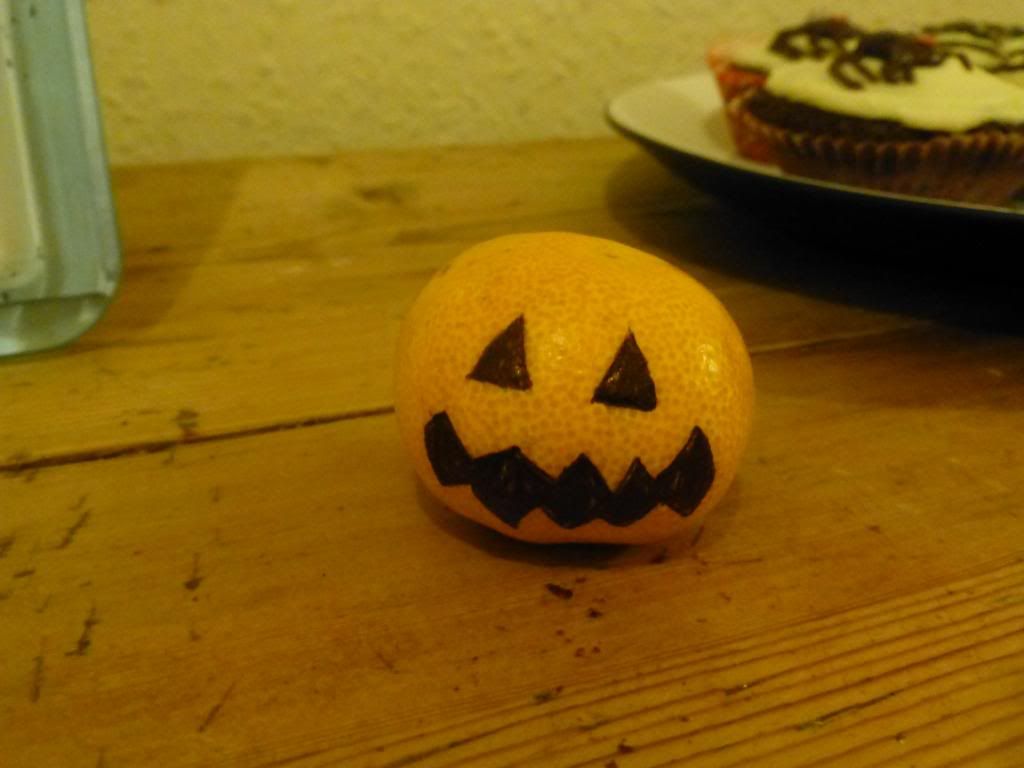
I seemed to have time to make these cakes, but sadly not for pumpkin carving. However, I do have this little chap, and he seems just fine to me. 


Tuesday, 17 September 2013

Apple and Blackberry Pie.

 Right I wanted to do one last post before heading back to university (third year..eek). So here it is!

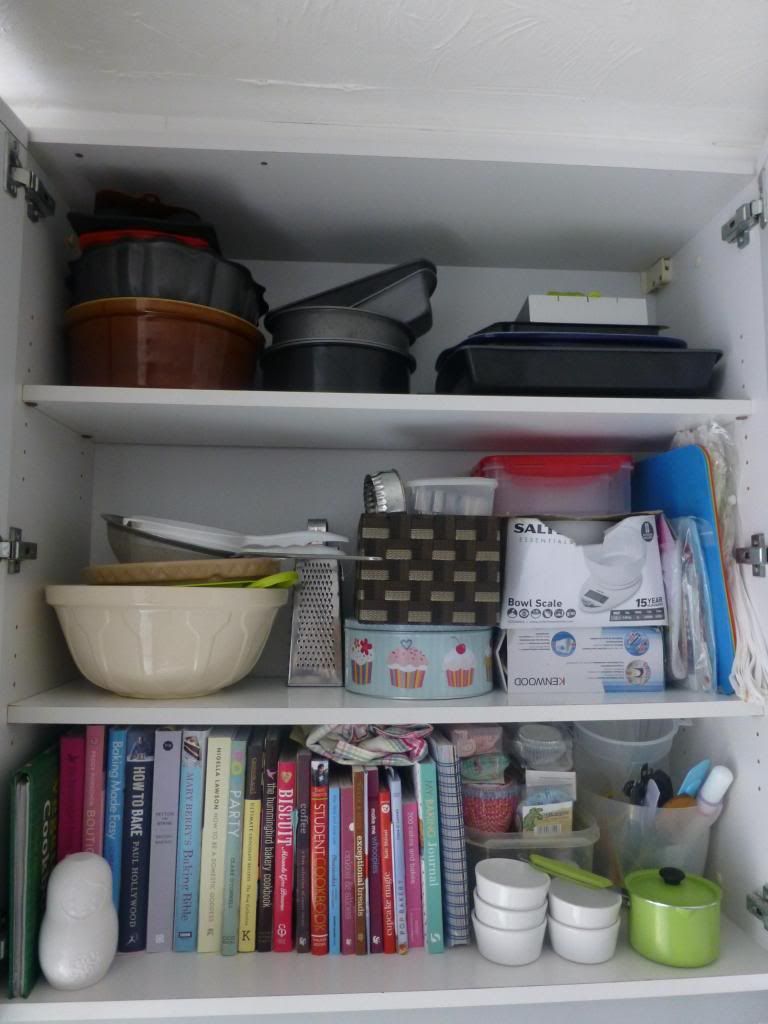
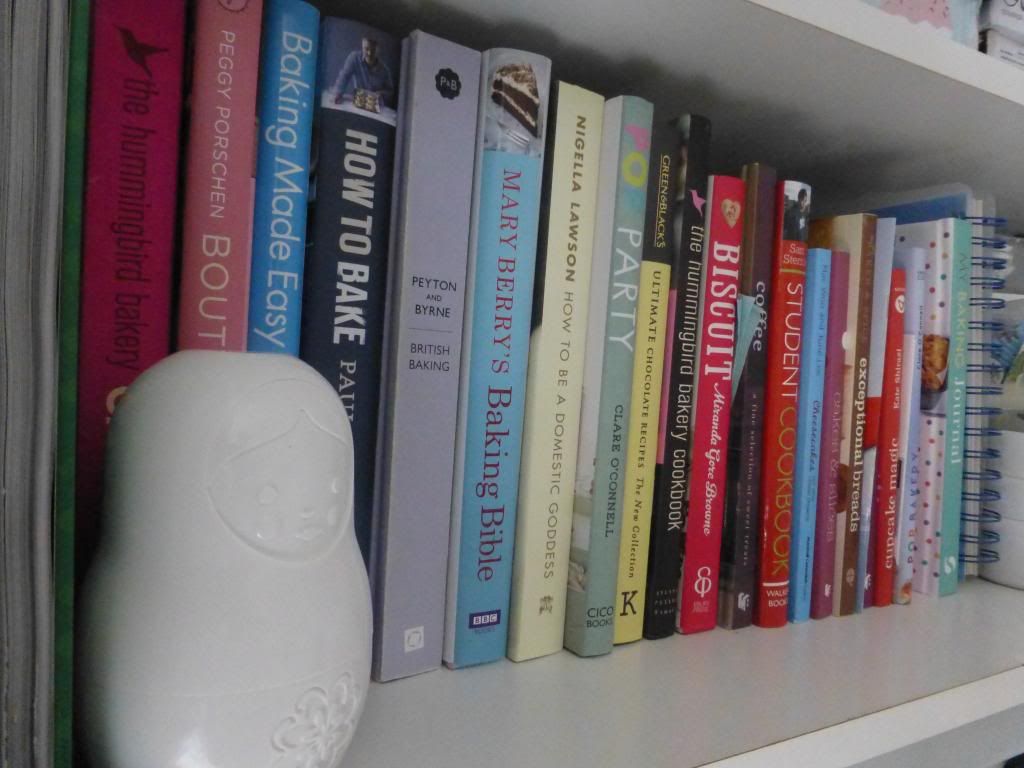
I also thought I'd share this...I wanted to leave my baking cupboard in good order too - so I had a bit of a tidy. We don't have much cupboard space in our kitchen at home..this is probably why. 


This week I decided to make an apple and blackberry pie. It may or may not have had something to do with watching pie week on Great British Bake-Off...

I'm not particularly inventive when it comes to thinking up different combinations - so I just went for a good old apple and blackberry. I used the Hairy Bikers' Perfect Apple Pie recipe. 

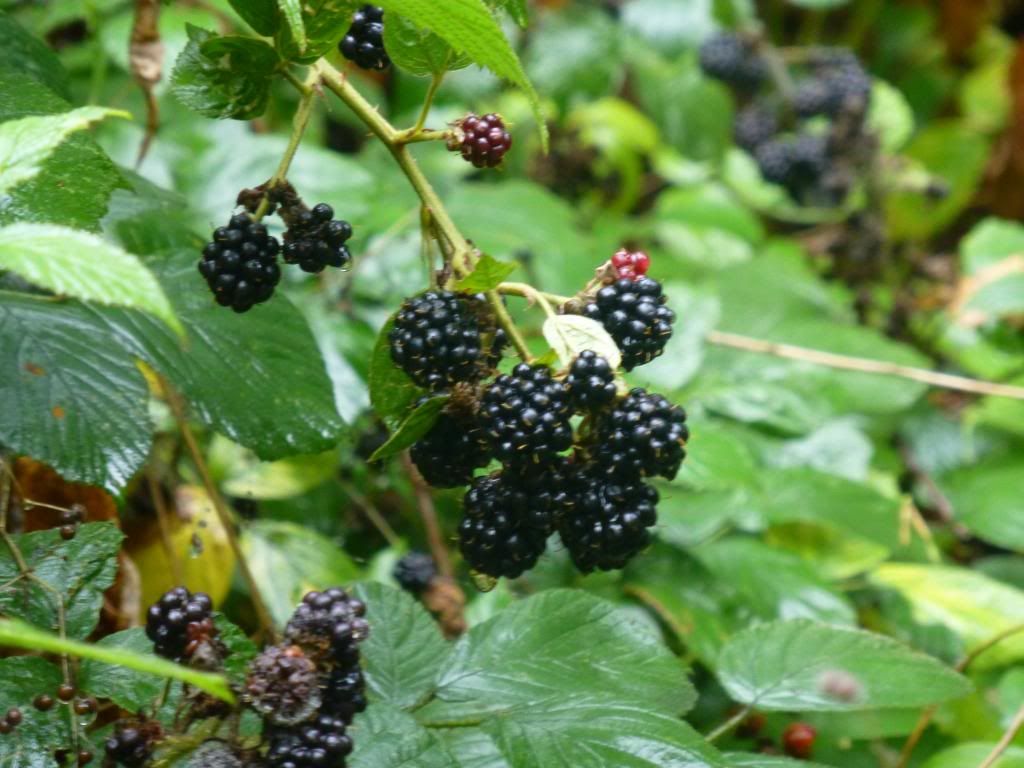
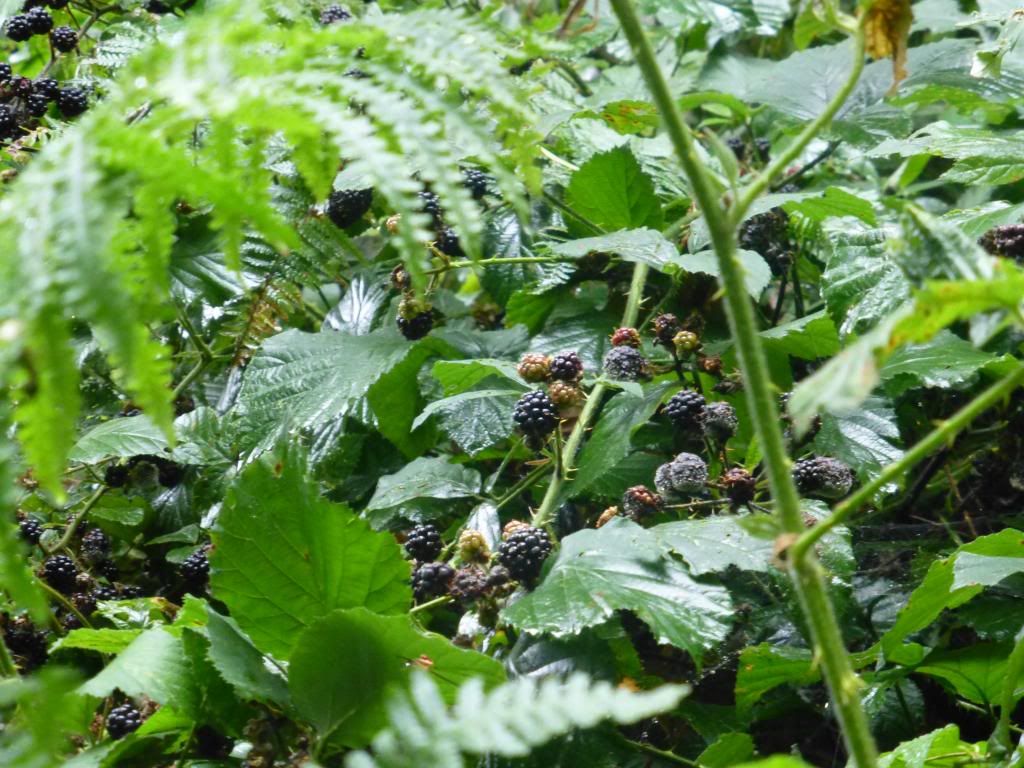
There are blackberries galore in the supermarket at the moment, and probably quite cheap too, but I decided to get them the old-fashioned way and went blackberrying. How very twee :P


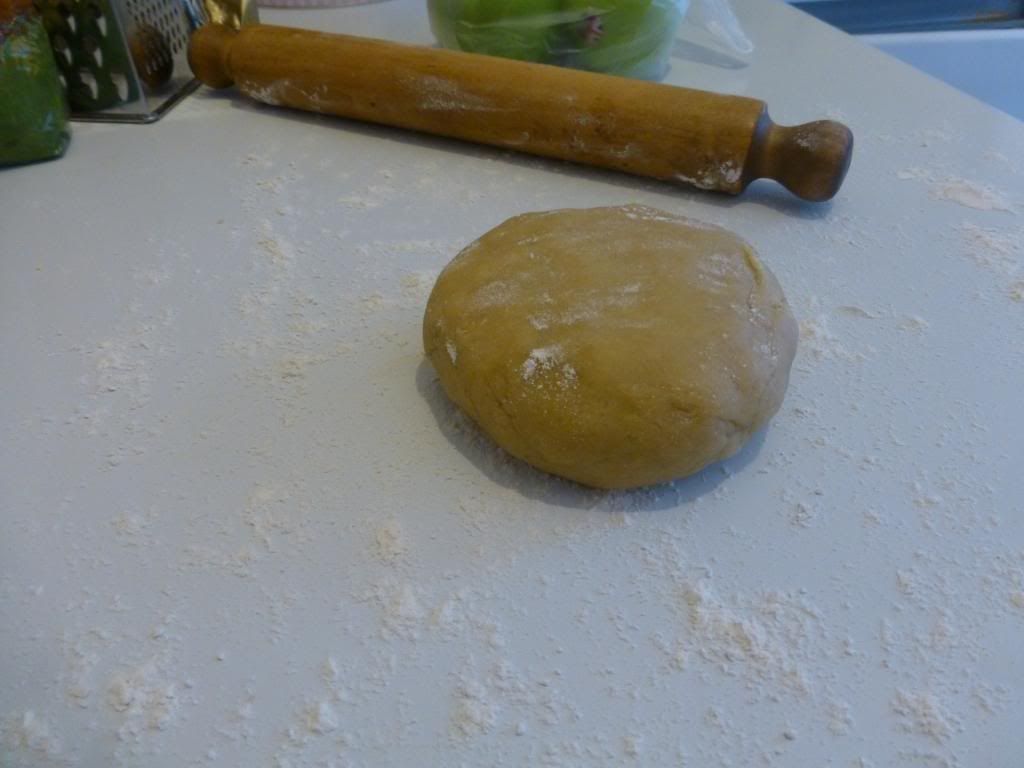
So back in the kitchen...I made the shortcrust pastry. It's not very sweet - just a couple of tbsps of sugar in the recipe.


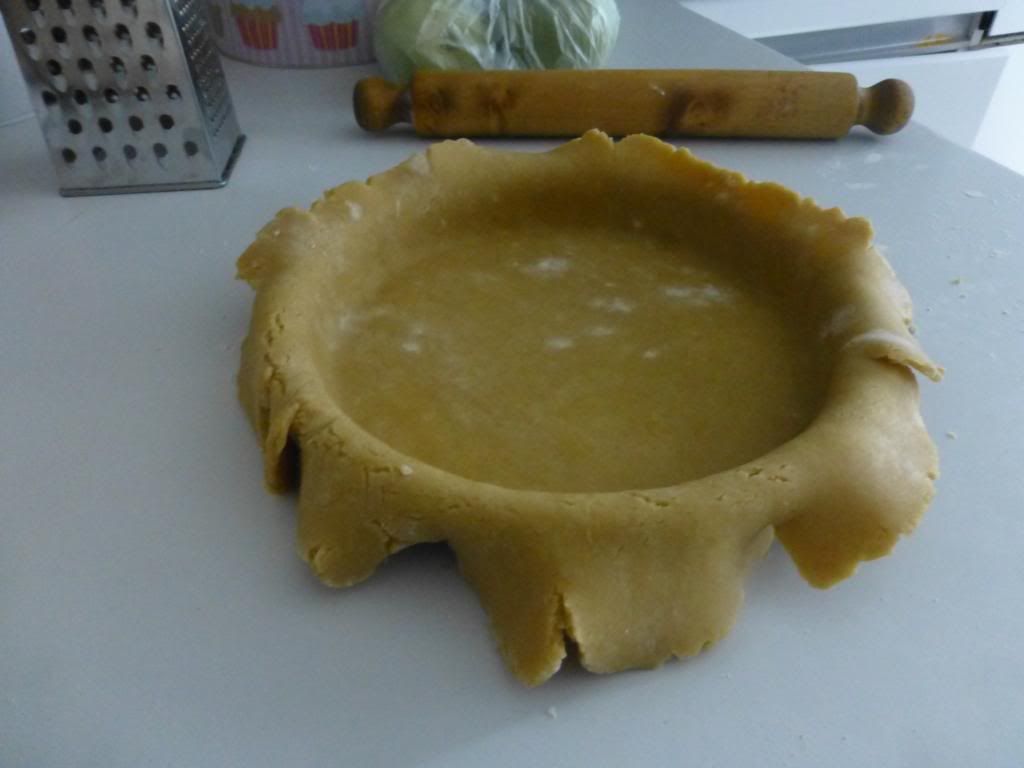
Then this happened. I used a 25cm pie pan. It was stressful but the pastry survived!


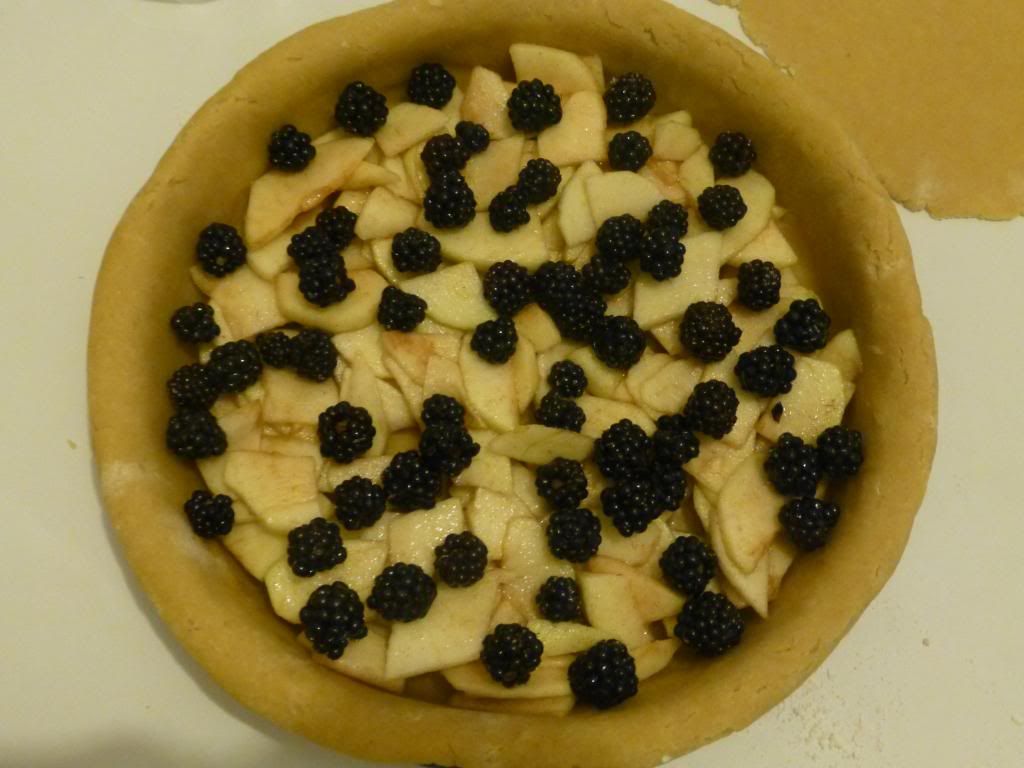
Now for the pie filling. This was a mix of apple, cinnamon, golden caster sugar, cornflour (to avoid a soggy bottom!) and a sprinkling of blackberries. 


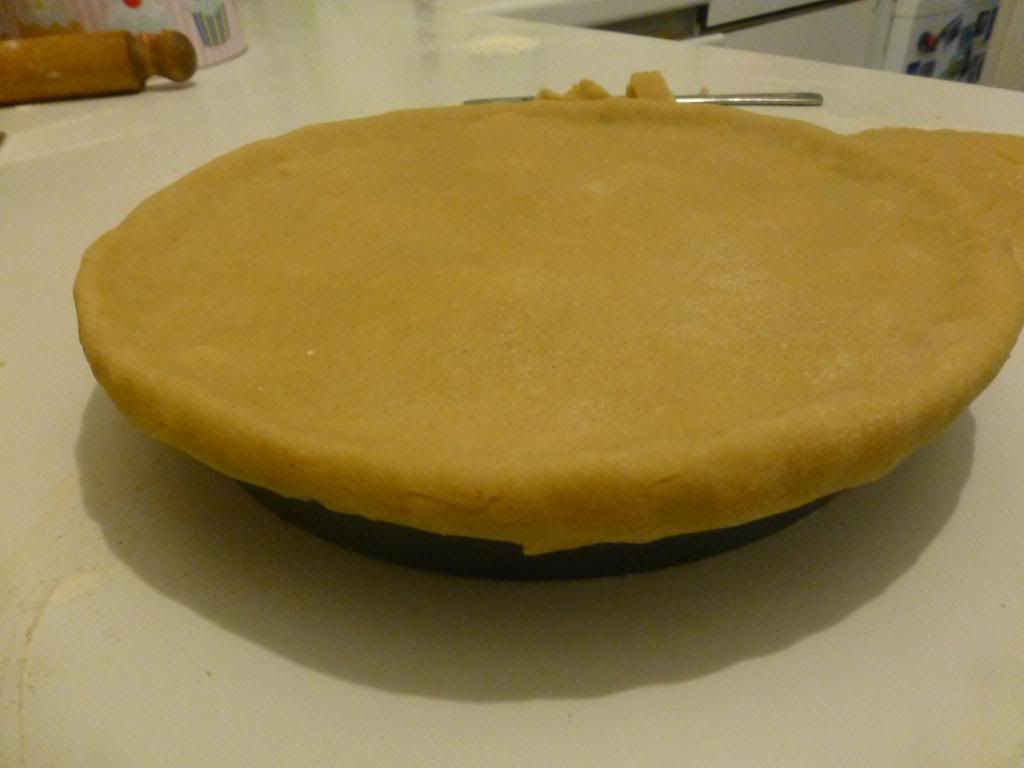
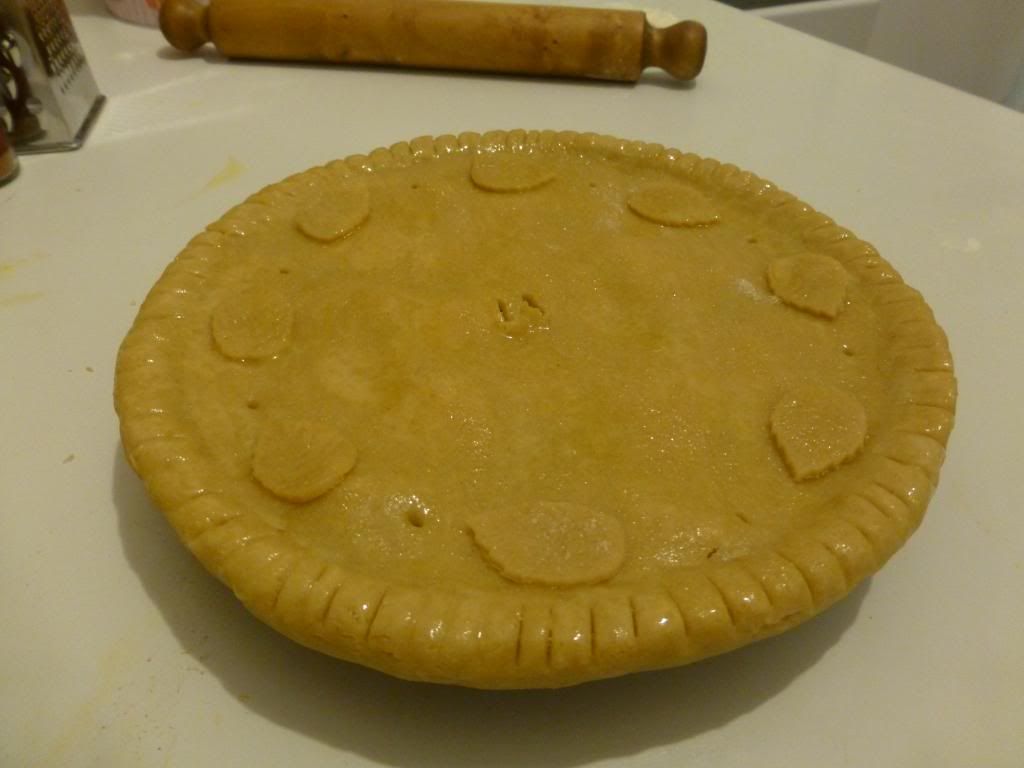
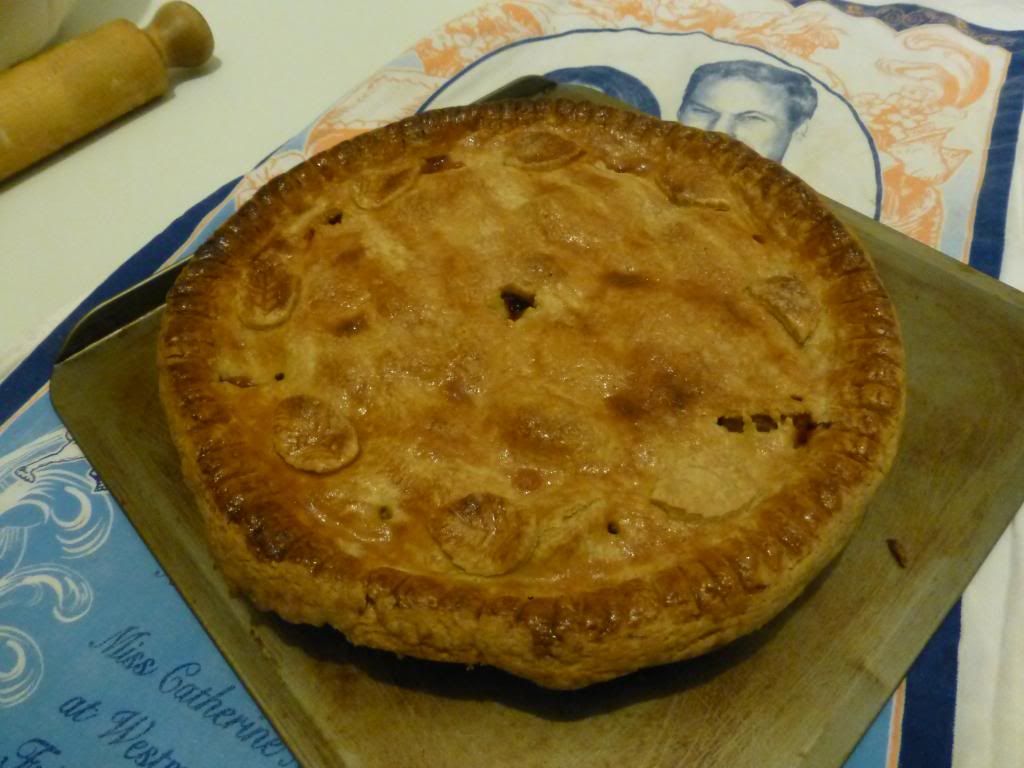
I then added the pastry top and made it look pretty. It probably needed a bit more filling as the pastry ended up drooping a little and making the pie a little flat. Anyway, I stamped out a few leaves, brushed a bit of egg wash on top, made a couple of holes in the middle and then popped it in the oven for 45 minutes at 200C. I put a bit of baking parchment over the top at the end to stop it from the burning.


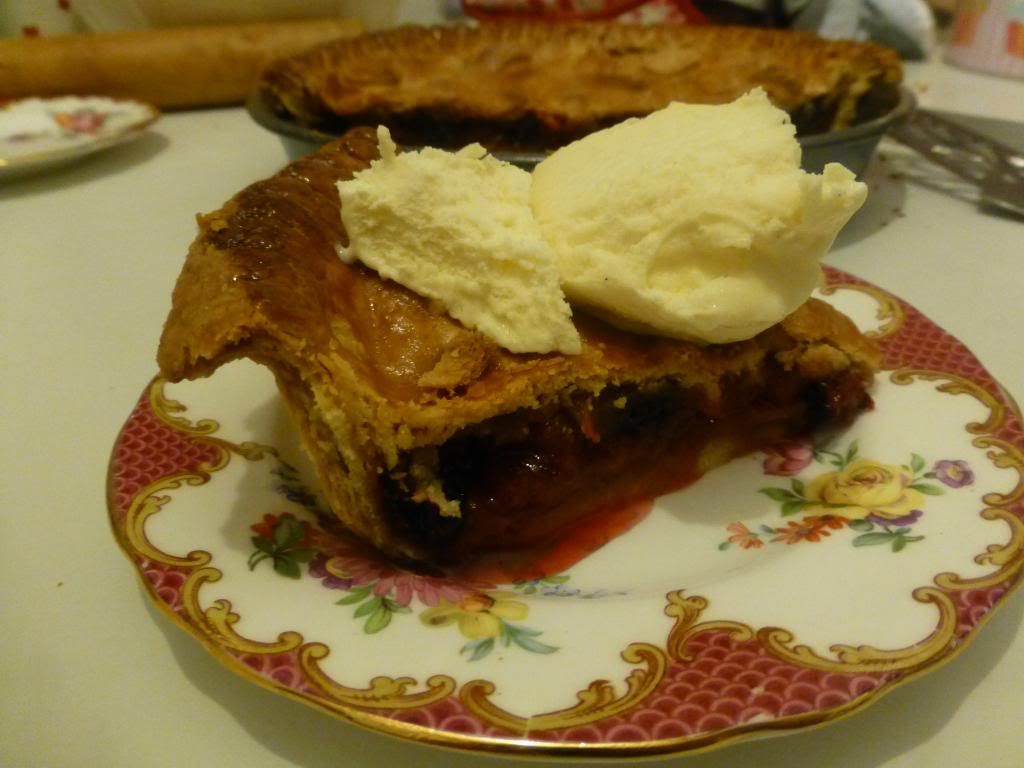
So there you have it! Apple and blackberry pie..and perhaps with a hint of a soggy bottom..

I may not have as much time in the next few weeks/months to update the blog, as university is calling! However, hopefully I'll have some time to do something nearer Christmas! So until then . . .


Wednesday, 28 August 2013

Raspberry jam.

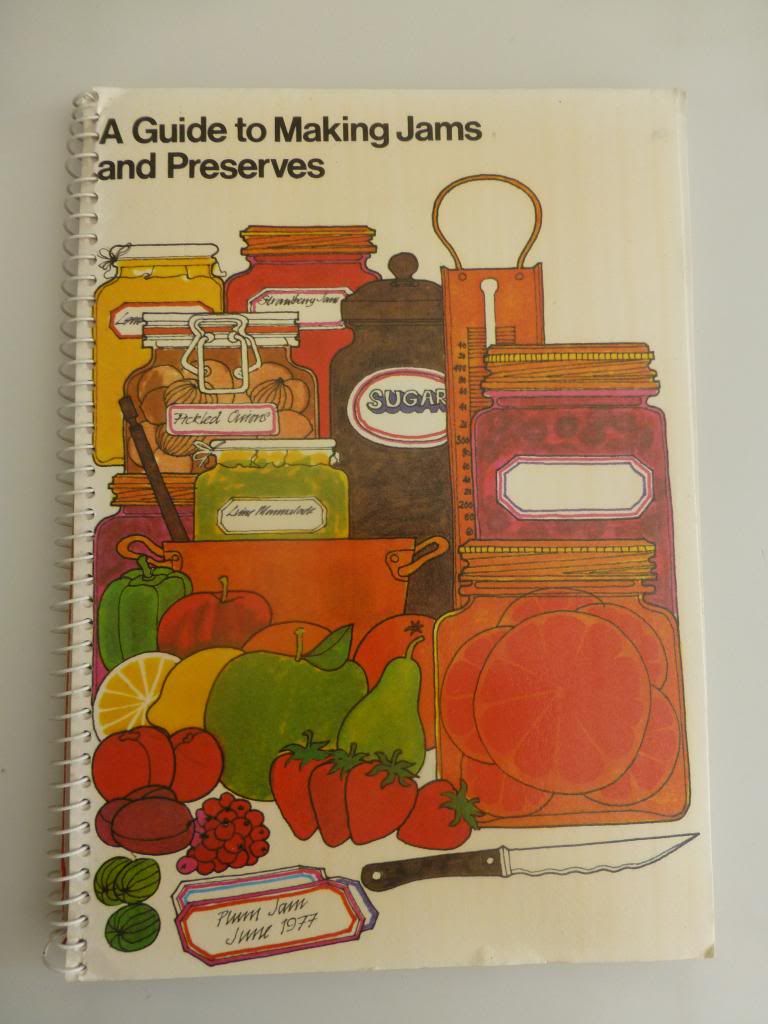
I have never really wanted to make jam. It just isn't one of those things. However, I came across this lovely book on a charity bookshelf at Staines train station (of all places!) and fell a little bit in love with it. Next thing I knew, it's Tuesday morning and I'm in Sainsburys, buying eight punnets of raspberries and two bags of sugar.


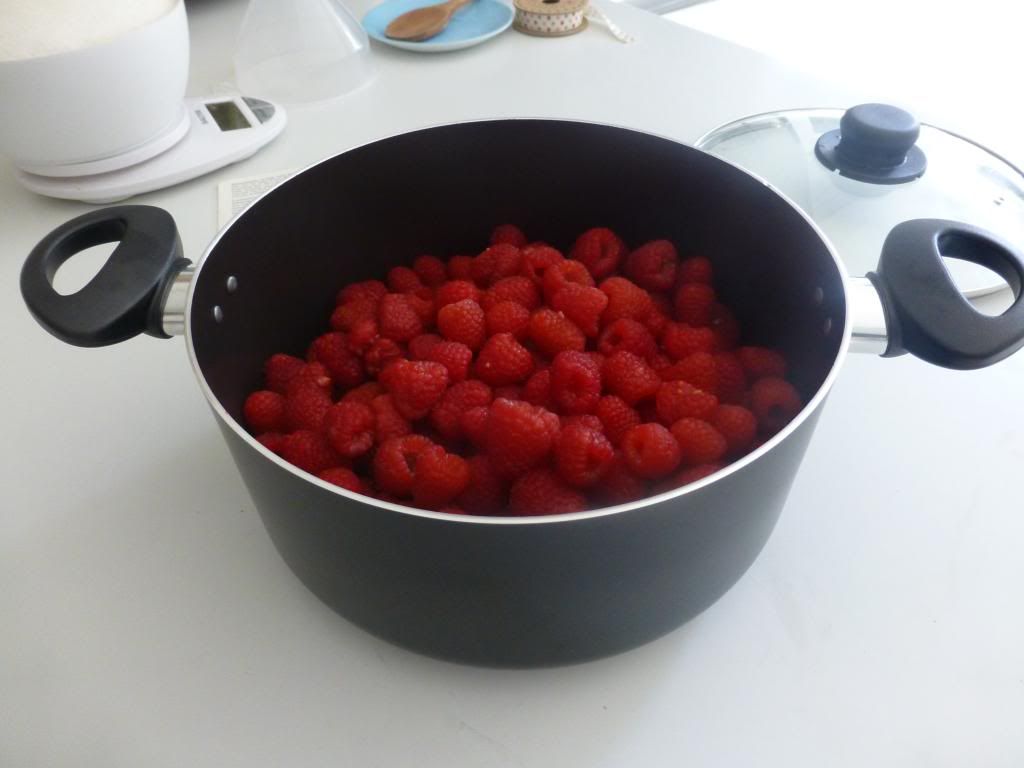
I have a cupboard full of odds and ends of baking stuff, so I was already quite well kitted out for jam making. I did buy a new pan though! The book mentions special preserving pans etc.., but I just bought a non-stick aluminium stockpot, which seemed to work fine.


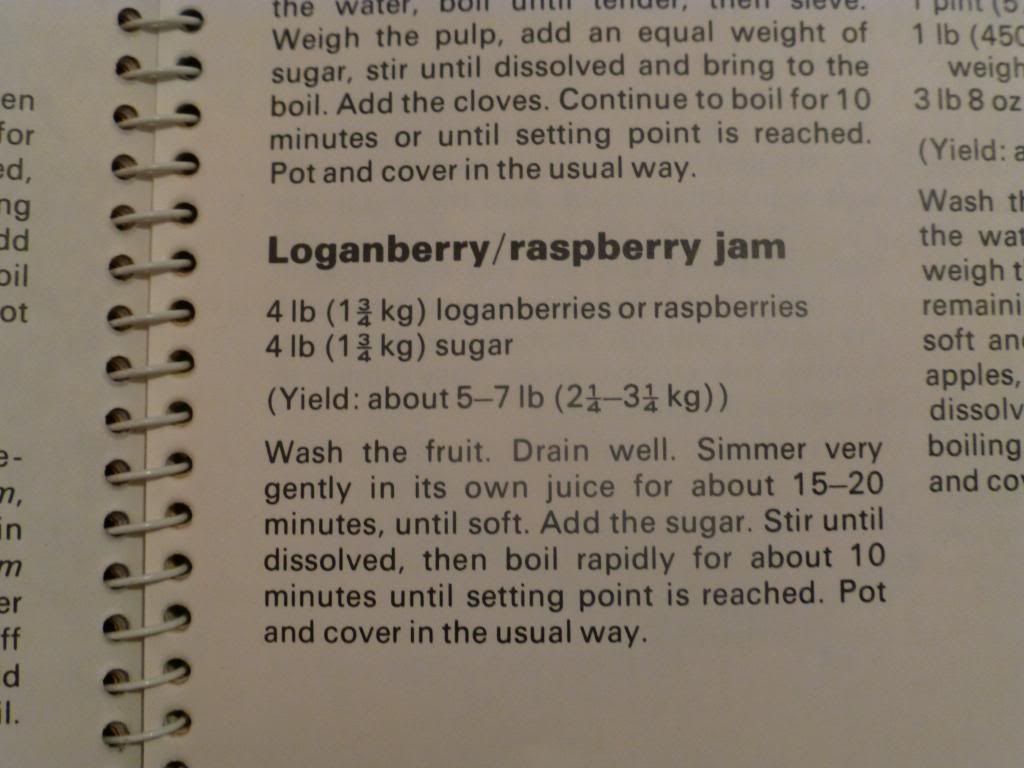
The ingredients are really simple - but there's just so much sugar. The ratio of fruit to sugar for jam is generally 1:1. It can vary depending on the level of pectin in the fruit (the stuff that makes it jelly-like). Raspberries tend to be low in pectin, so they're in need of the full amount of sugar and a bit of a pectin boost. I bought jam sugar, which sorted out this problem for me! 

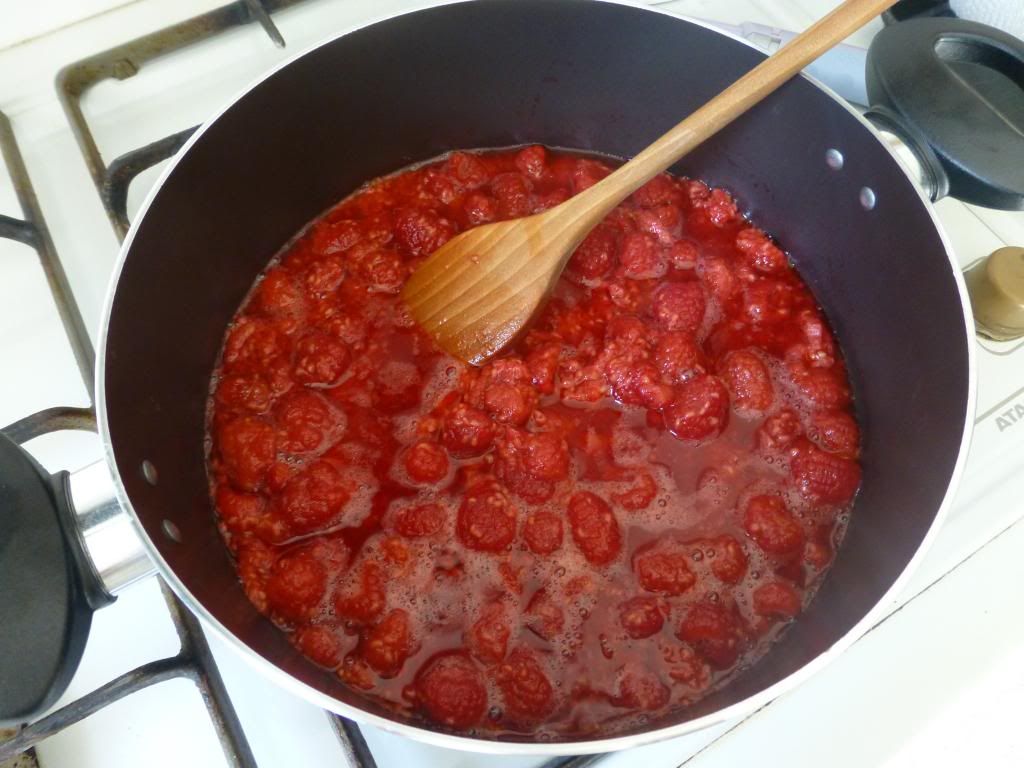
I washed the raspberries and put them on a medium heat for about twenty minutes, simmering gently and stirring occasionally.

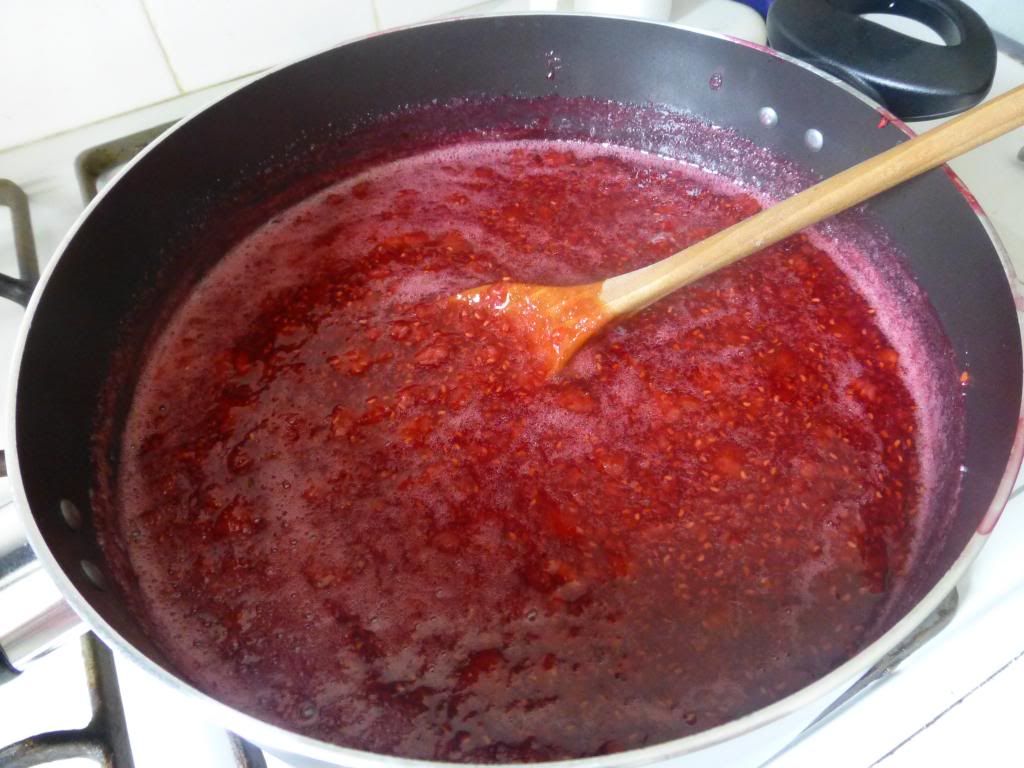
I then took it off the heat, stirred in the sugar gradually and ensured it had all dissolved. I returned the fruit and sugar to the heat and boiled it rapidly for ten minutes. The fruit should be like a pulp and reduced down.
  

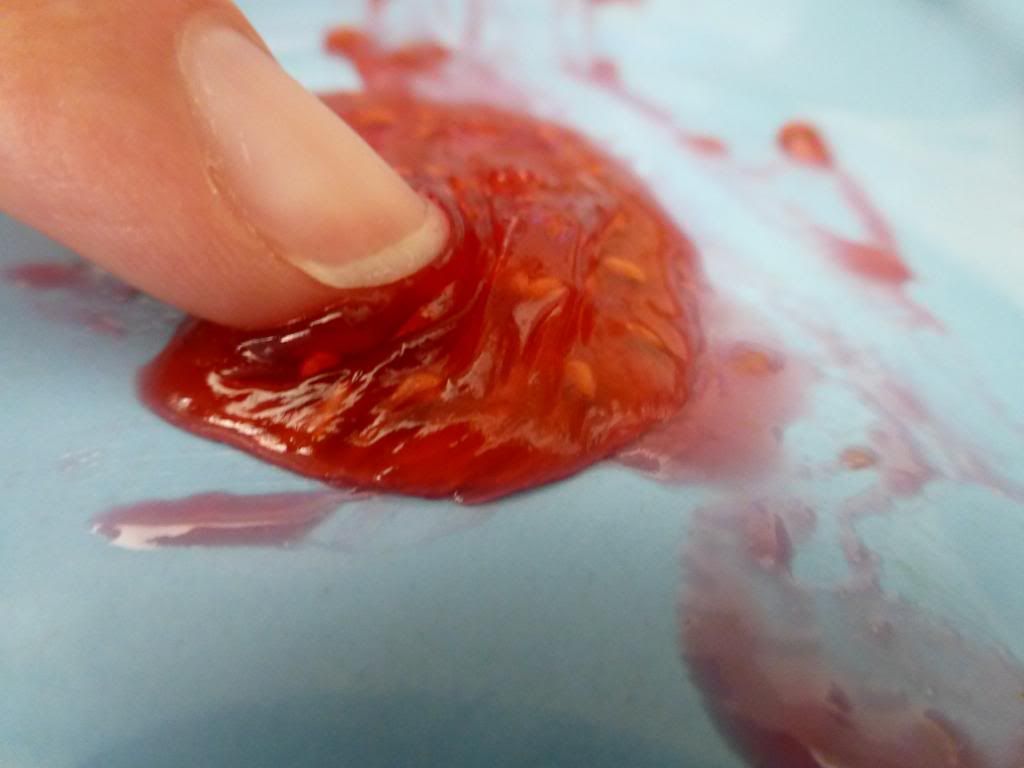
This is the odd bit, but I enjoyed it. To make sure the jam will be the right consistency, you must do something called the wrinkle test. You spoon a bit of the jam onto a plate, let it cool, and then prod it. If the jam wrinkles, then you're good to go.


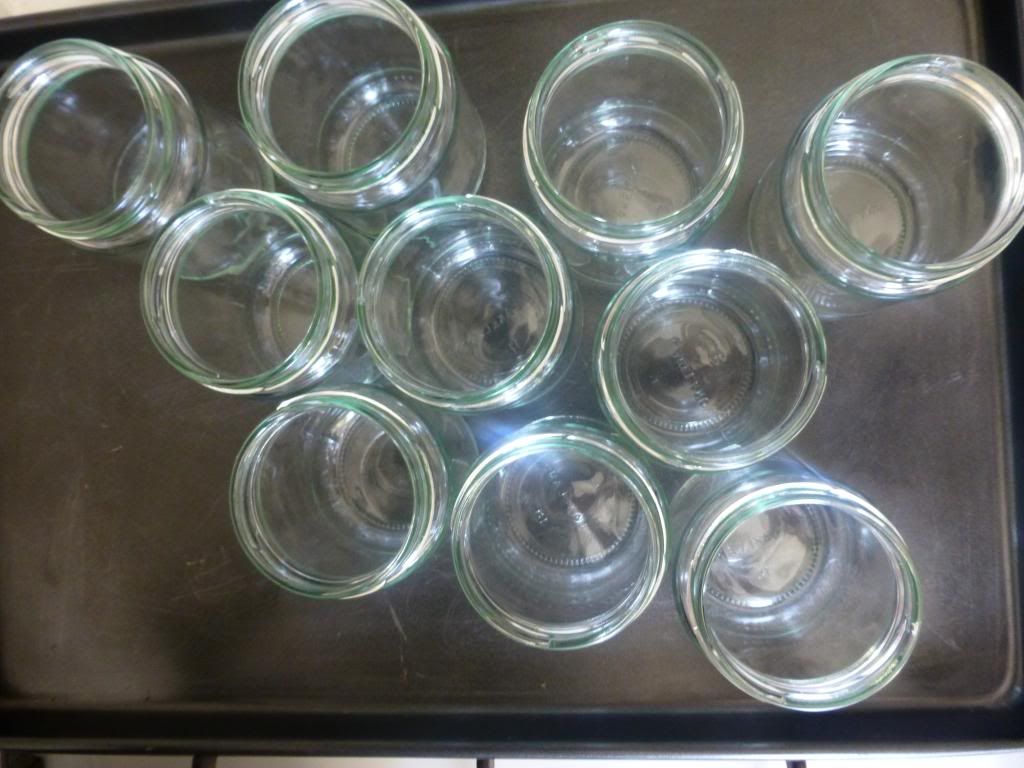
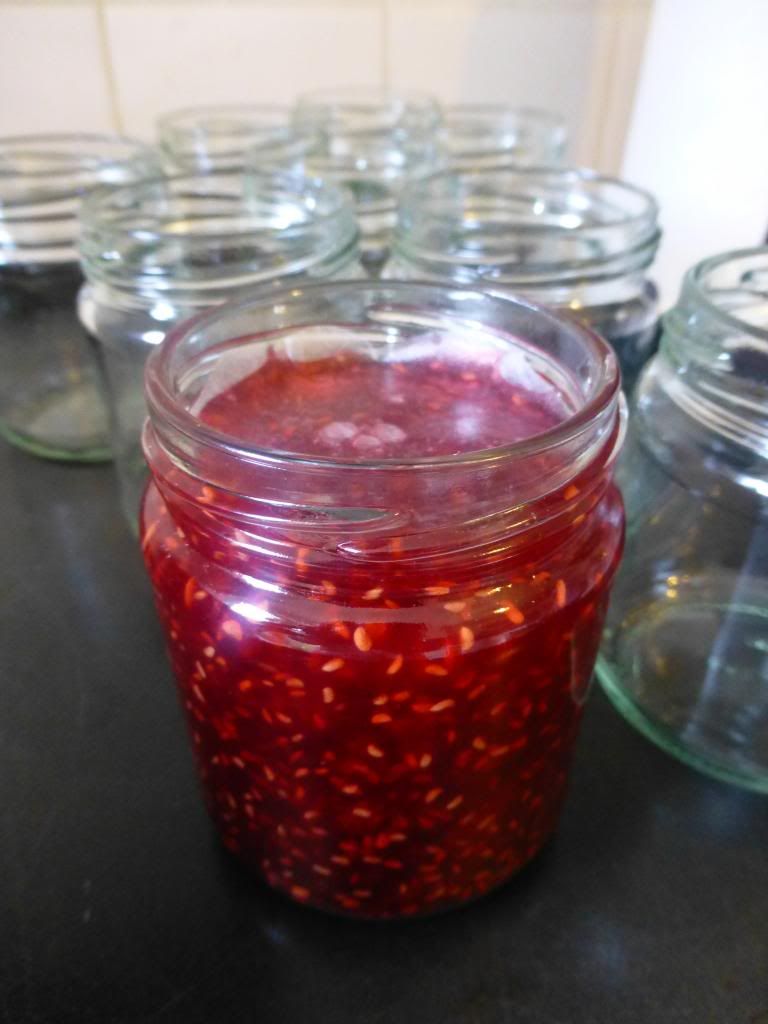
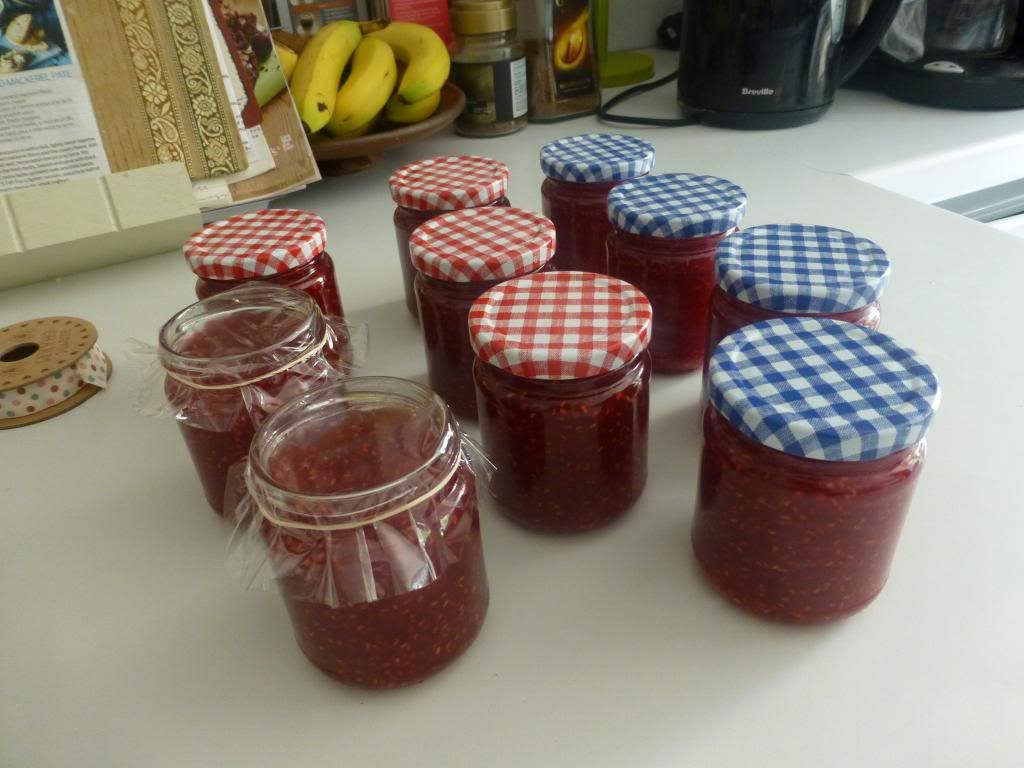
So after prodding a bit of jam, I put it into jars. I prepared the jars beforehand - washed in warm soapy water, rinsed and dried in a cool oven for 15 minutes or so. The jar has to be a similar temperature to the jam to avoid the glass cracking. I used a funnel to pour it into the jars and sealed off the top with a little wax disc. This is all to prevent the jam from going mouldy.


And so there you have it. Raspberry jam. And to last a life time. Anyone want one?


Friday, 16 August 2013

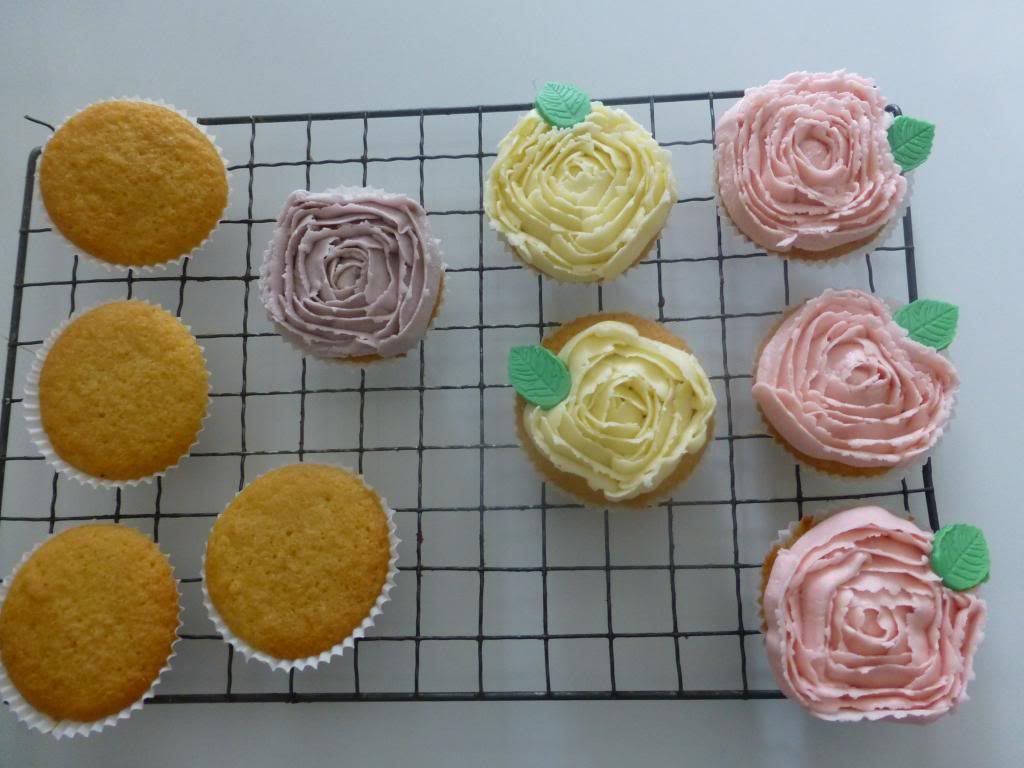
Coming up roses.

 Hello there stranger! Big apologies!  This post is a bit out of the blue - it must be coming up to a year since I last posted. Admittedly, I have had quite a busy time and my second year at university has got a bit in the way of this blog malarkey...but it doesn't mean I haven't been baking! I have shared a lovely little house with five other girls and I think they must know by now that I like to bake...just about. Just a little bit. Anyway..I'm sure you have all been on the edge of your seats for this next post *ahem*..so now that the excuses are out the way, I shall proceed!

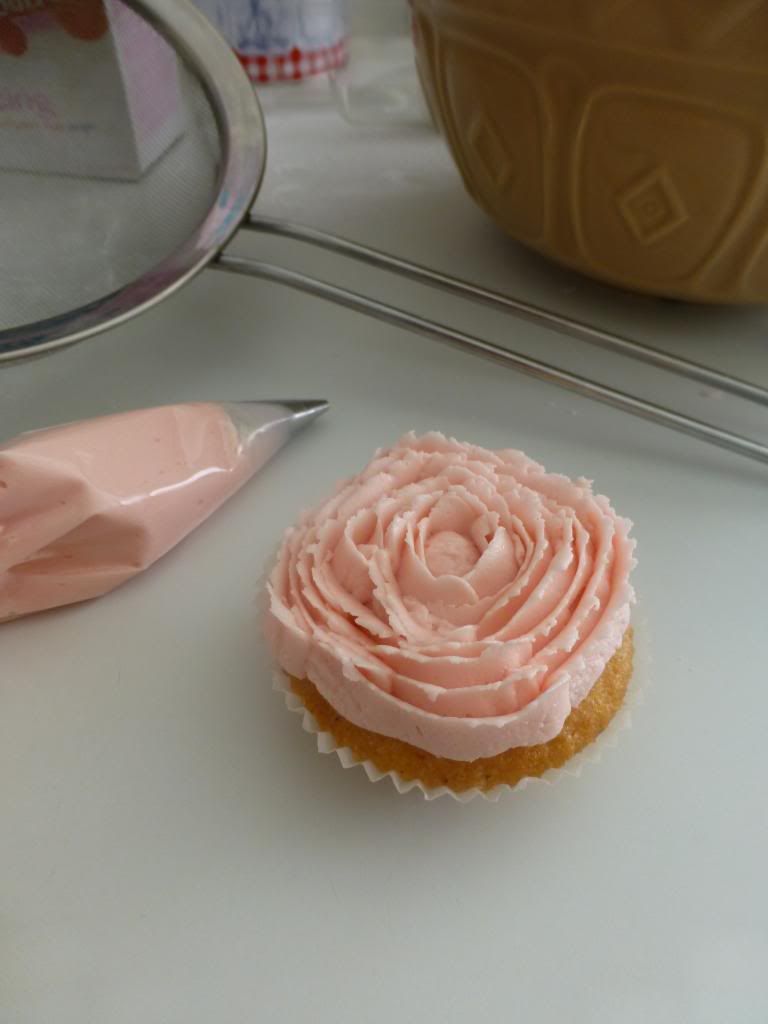
So roses! I have been wanting to try this for quite a while and I have finally managed to get round to it. One of my favourite wesbites for buying baking equipment and getting tips, www.sewwhite.com,  had a little tutorial on how to pipe a rose and so - quite naturally - I thought I must give this a go.

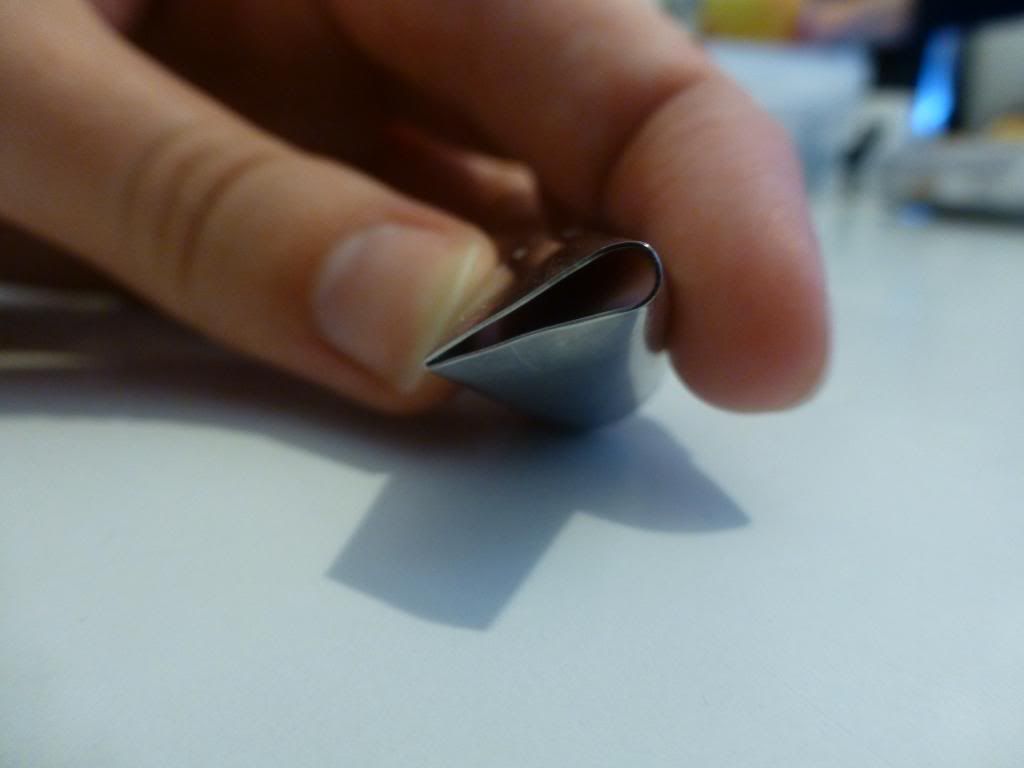
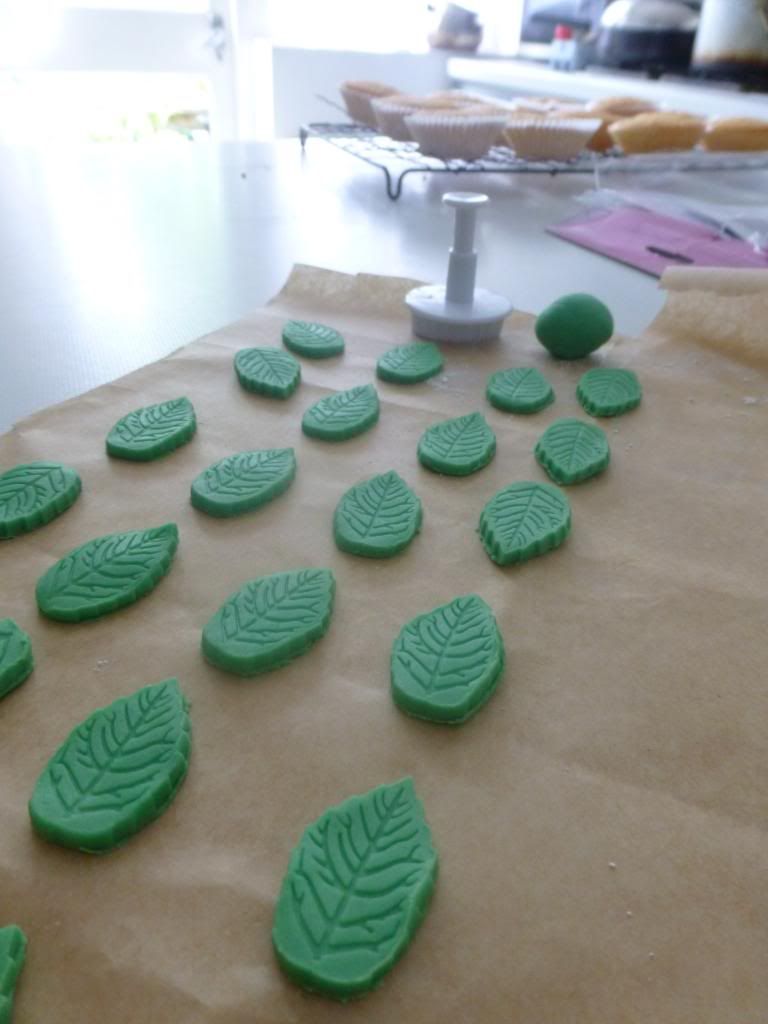
With a little Hobbycraft session, I found the right icing nozzle - big at the top and small at the bottom - a bit like a tear drop. This makes the petal shape. I also bought some green fondant icing for the leaves - because I'm a little bit lazy.

I made a batch of fairy cakes (Mary Berry style!), let them cool and set about making the buttercream. I tend to improvise with the measurements for this - 3 to 4 tablespoons of soft butter, adding icing sugar (LOTS!) until quite stiff, and a couple of splashes of milk. And then a few drops of food colouring! I also rolled out the fondant icing and cut out the leaves. Next time, I'll make them a bit less chubby looking.

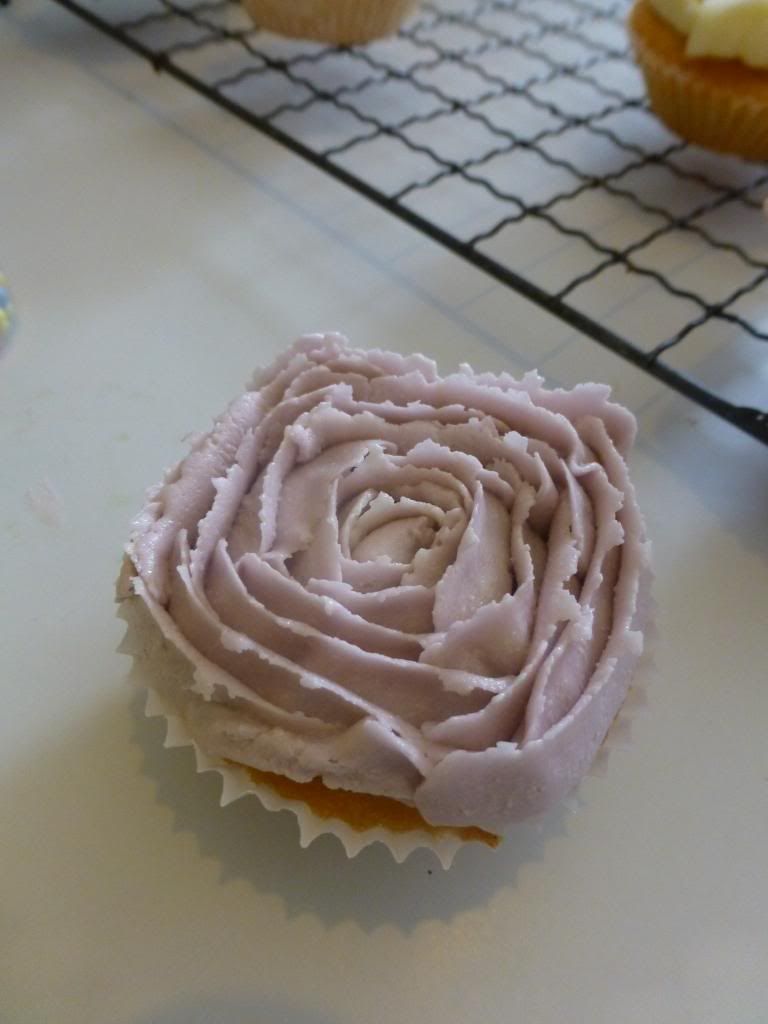
So I prepared the piping bag and followed the tutorial. Sew White made it look so simple...but I think mine turned out ok for a first go!