Saturday 30 July 2011

Jellycat.

 I wouldn't want this for my birthday party...I can tell you that now.


MIAOW

Saturday 23 July 2011

Cakepopping!

I've thought about making Cake Pops for a while now and I've finally got round to it. It seems to be the baking craze, so I thought I'd give it a go.

I needed a few bits and pieces before I started, so a trip to Hobbycraft was in order! Luckily, they had a whole Cake Pops display all laid out - lollipop sticks, candy melts, decorations etc... 


There's quite a few Cake Pop books out at the moment, but I went for 'Pop Bakery' by Clare O'Connell. I've only used the book for the basic mix as a lot of the designs are VERY complicated (and some seemed a bit random anyway - you can make a cake pop that looks like or a tooth or a cactus if you want?). 

All set

It seems like it could become quite an expensive habit though. They suggest that you use 'Candymelts' for icing the cake pop. You can get them in all sorts of colours in Hobbycraft but they are quite pricey. Melted chocolate seems to work just as well.

For more inspiration, I looked at other recipes/designs online - www.bakerella.com (I think she's the creator of cake pops!). It was also just nice to look through them!

All in all, it was quite a long process, but I got there in the end. There were several stages to making the Cake Pops . . .

Stage One:

Make the sponge. I wanted to make two batches and went for a strawberry sponge (recipe found on http://www.bakingbar.co.uk/2011/05/strawberry-surprise-cake-pops.html?utm_source=feedburner&utm_medium=feed&utm_campaign=Feed%3A+BakingBar+%28Baking+Bar%29 ) and chocolate sponge - I got the following recipe from the Pop Bakery book:

1) Preheat oven to 160oC 

2) Mix 125g butter with 125g caster sugar until light and fluffy

3) Add 2 medium eggs slowly, continuing to beat the mixture

4) Sift 125g of flour into the mix along with 2tbsp. of cocoa powder and mix until combined

5) Pour mixture into a greased 8in/20cm tin and bake for 20-25 mins (or until risen and cooked through)

6) Leave the cake to cool (for a LONG time before crumbling!)


Strawberry sponge
Chocolate sponge


Stage Two: 

Once the cake has cooled, break up the sponge into crumbs and mix in half a tub of vanilla frosting (to save time, I cheated a bit here and used Betty Crocker's Vanilla frosting!).


Stage Three: 

Roll the mix into balls (each ball weighing roughly 20g). The cake pop is formed!

Looks like meatballs...


Stage Four: 

Melt the chocolate (the book suggests the candy melts - who needs candy melts?). Place the cake pop on a spoon and roll it in the chocolate (this bit is messy - just go with it) and then decorate!


Stage Six:

I put a batches of them in the freezer for the chocolate to set and then finally - after all that - put the cake on the stick! 


Something extra... 

I made more Cake Pops than I knew what to do with, so I experimented a little.  Seeing as they looked a bit like meatballs and I had some kebab sticks in the cupboard, it only seemed right that I made some Cake Kebabs! I know it sounds disgusting and it may look disgusting, but it was still fun to make!!  :D


So all in all, it does seem a lot of effort for making a bitesize piece of cake on a stick! Nevertheless, I really enjoyed making them - they would make great gifts and they'd probably go down well at a kids party or something. I'll definitely make them again...but perhaps not for a while!!


I'm going to 'pop' off line for now...I'll be back soon though with more baked goods ;)

Thursday 7 July 2011

Flavour of the month: Indonesian!

So I'm back from my holiday in Indonesia and what an amazing 3 weeks it has been. I thought I couldn't miss out on posting a blog about the food out there - it's too good not to mention! I tried so many different things, it was hard to keep track,  but it was all so tasty!

On my first day, I was given a traditional Indonesian dish for breakfast -  'Nasi Goreng'. This is essentially fried rice with lots of chili - I also had a nice fried egg on top too! Not something I'd normally have for breakfast, but surprisingly enjoyable!

Rice - as you can imagine - is the staple food in Indonesia. It was nice to try it in the many different forms! I tried something called 'longtong' - these are compressed little discs of rice. The rice is wrapped in banana leaf, so it can keep the shape. It seems to accompany many of the dishes in Indonesia. The dish below was just another way in which rice was served - 'Yellow rice mountain'!


There was satay galore!! And lashings of peanut sauce. The flavours were absolutely incredible - especially the peanut sauce! This seems to be used in a lot of other dishes too, including 'gado-gado' - a dish I saw being made by a street vendor. You're given a bag of prawn crackers to crush, which you then tip over the the gado-gado. It was delicious - and so filling!


'Gado-gado'


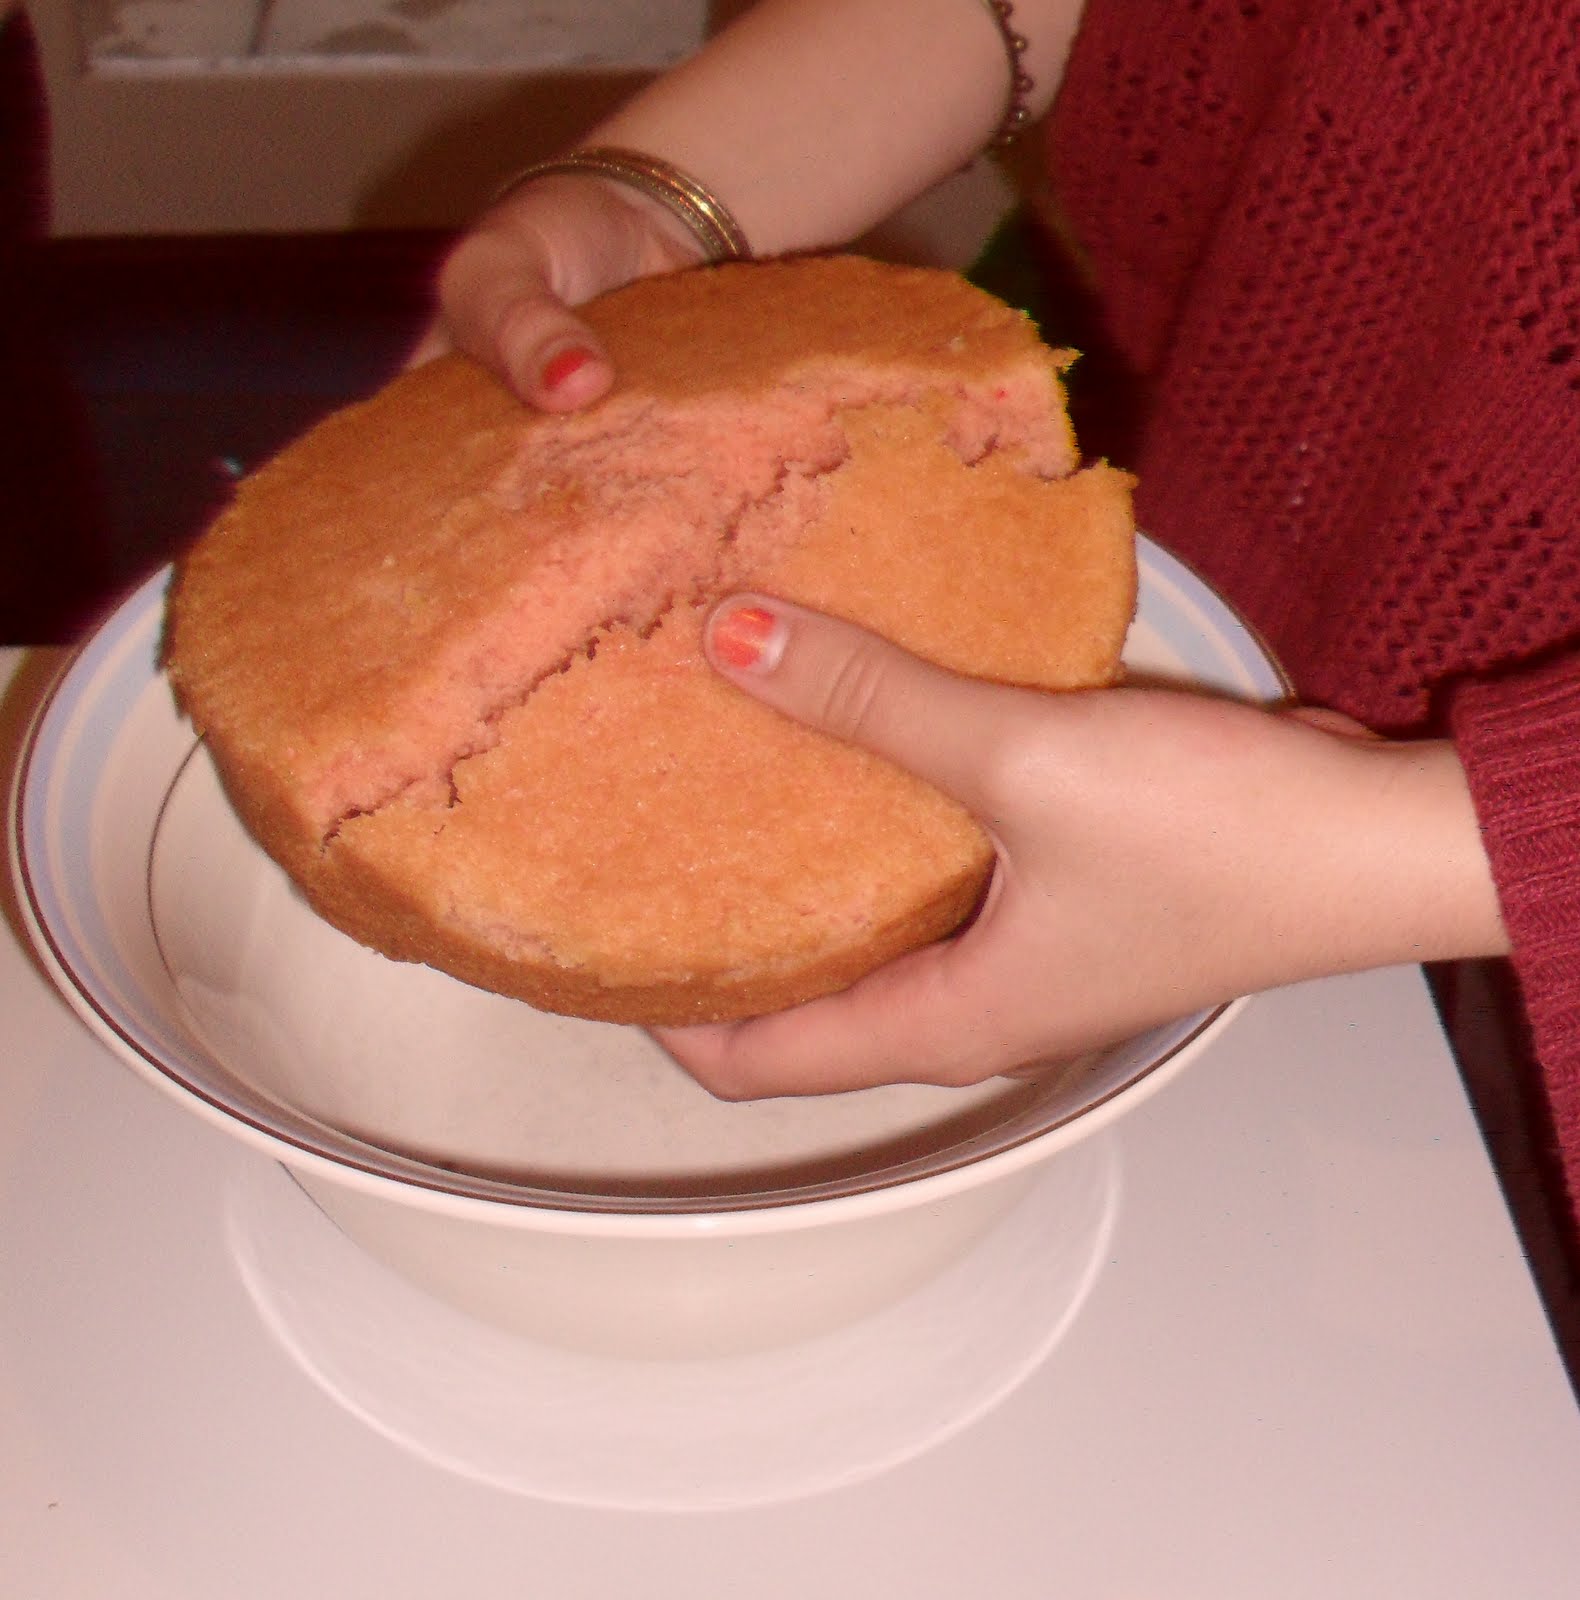
They're not so much into their baking in Indonesia, but I was impressed by their layer cake, known as 'Spekkoek' or 'Lapis legit'.
CAKE FACT: This cake actually has dutch origins -  it was developed during the colonial times in the Dutch East Indies.
Anyway, more to the point... this cake is EXTREMELY rich. It contains 30 eggs yolks!! What concerns me is the leftover eggs whites. They could make a massive pavlova I suppose.

Anyway, all in all, it was truly an amazing trip and the food made it all the better. Hopefully I'll be able to visit again in the future! :)

Krispy Kreme - Indonesian style
 P.S. Stay tuned for Cake Pops and Macaroons (fingers crossed!).