Wednesday 28 August 2013

Raspberry jam.

I have never really wanted to make jam. It just isn't one of those things. However, I came across this lovely book on a charity bookshelf at Staines train station (of all places!) and fell a little bit in love with it. Next thing I knew, it's Tuesday morning and I'm in Sainsburys, buying eight punnets of raspberries and two bags of sugar.


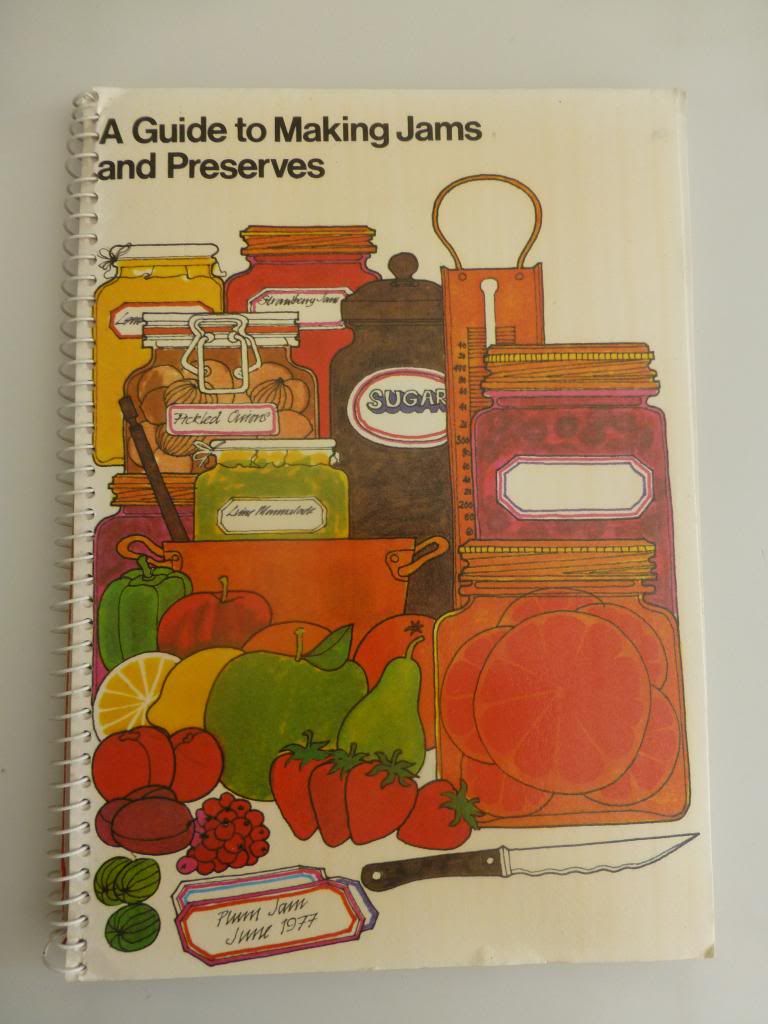
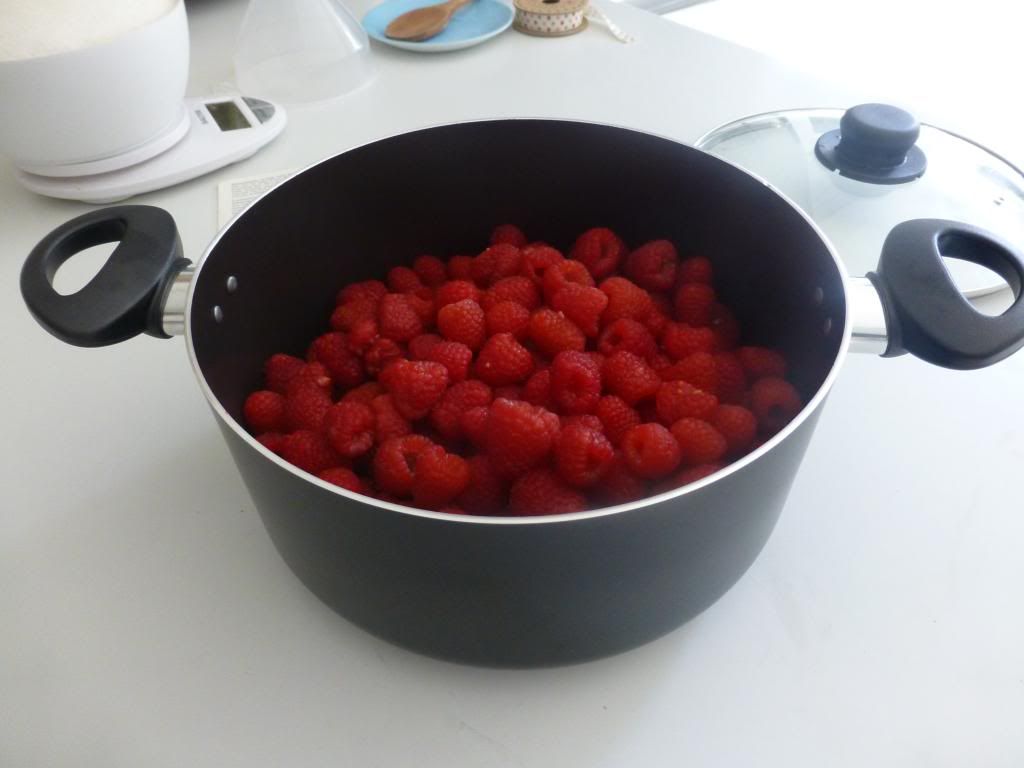
I have a cupboard full of odds and ends of baking stuff, so I was already quite well kitted out for jam making. I did buy a new pan though! The book mentions special preserving pans etc.., but I just bought a non-stick aluminium stockpot, which seemed to work fine.


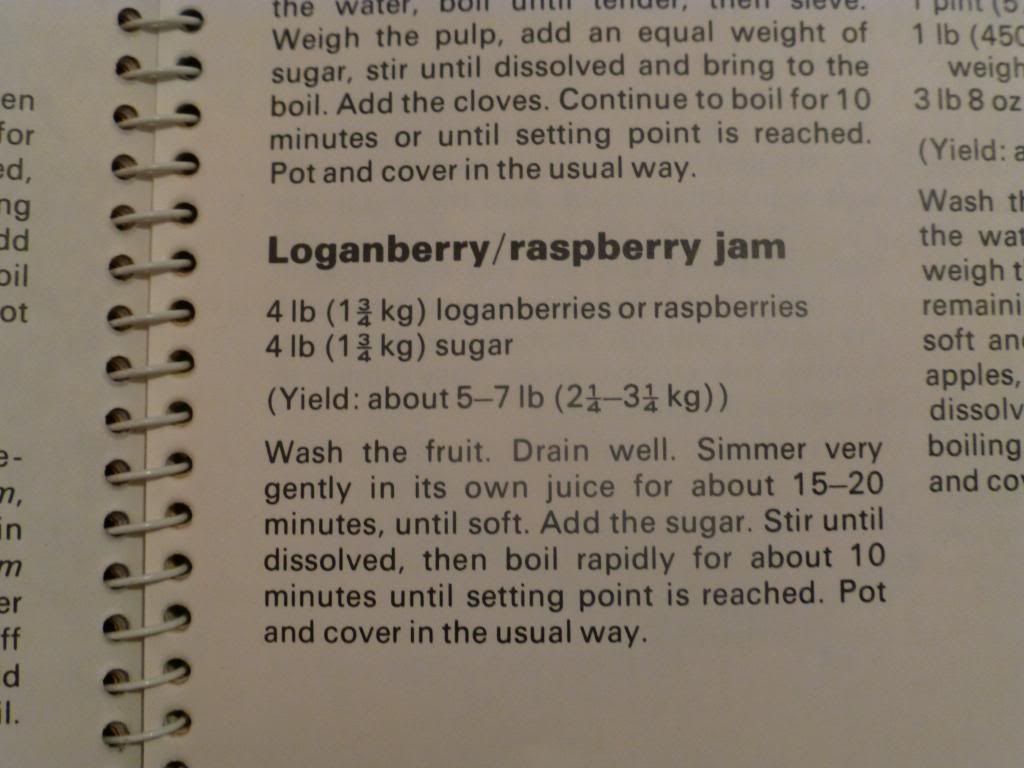
The ingredients are really simple - but there's just so much sugar. The ratio of fruit to sugar for jam is generally 1:1. It can vary depending on the level of pectin in the fruit (the stuff that makes it jelly-like). Raspberries tend to be low in pectin, so they're in need of the full amount of sugar and a bit of a pectin boost. I bought jam sugar, which sorted out this problem for me! 

I washed the raspberries and put them on a medium heat for about twenty minutes, simmering gently and stirring occasionally.

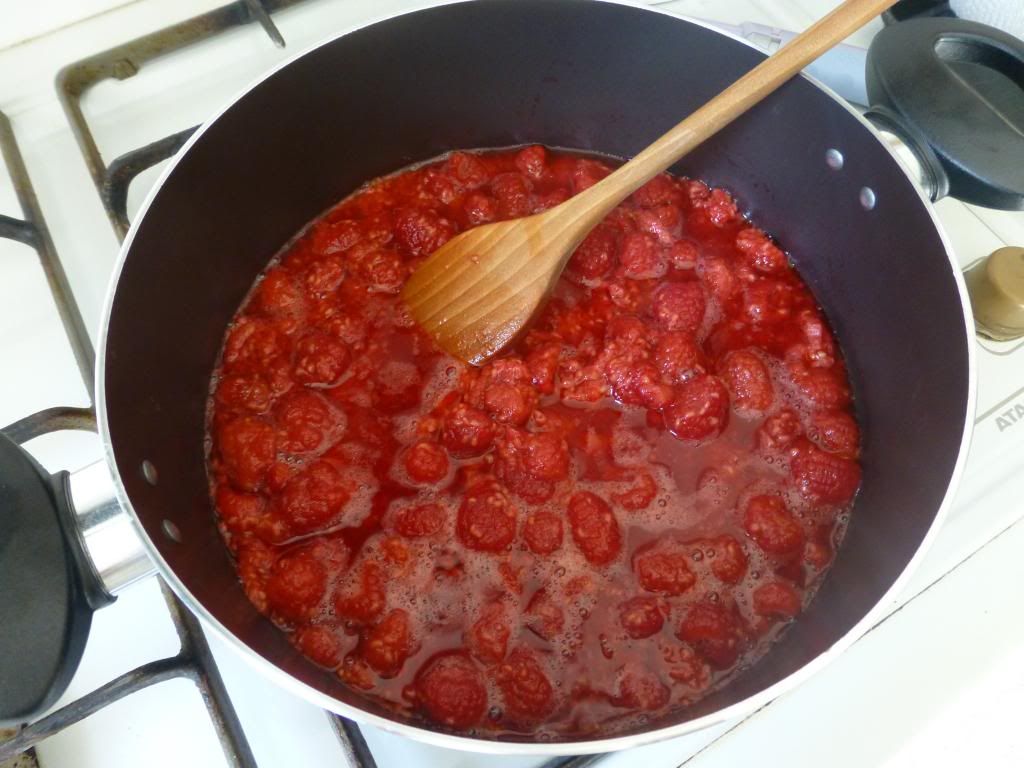
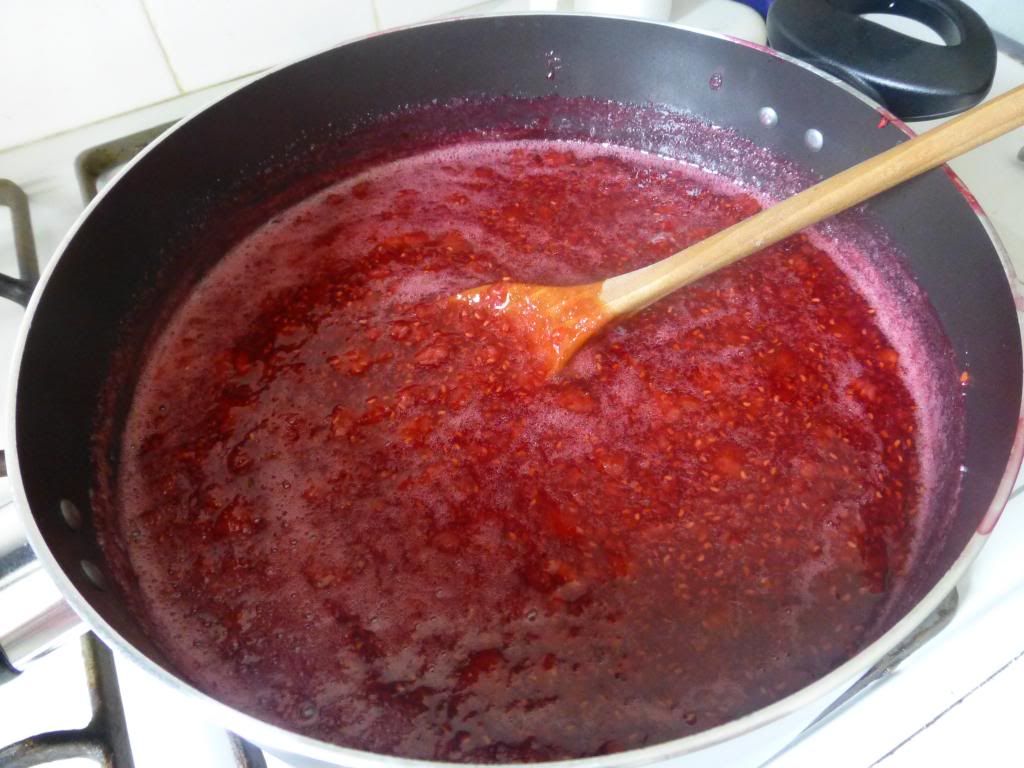
I then took it off the heat, stirred in the sugar gradually and ensured it had all dissolved. I returned the fruit and sugar to the heat and boiled it rapidly for ten minutes. The fruit should be like a pulp and reduced down.
  

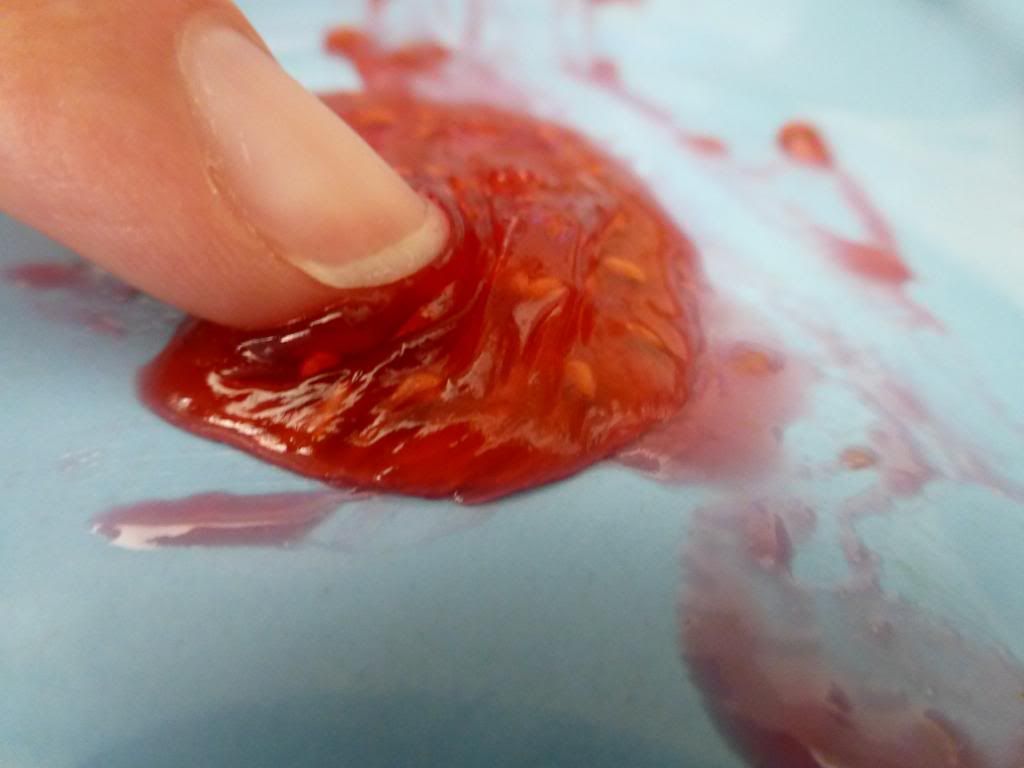
This is the odd bit, but I enjoyed it. To make sure the jam will be the right consistency, you must do something called the wrinkle test. You spoon a bit of the jam onto a plate, let it cool, and then prod it. If the jam wrinkles, then you're good to go.


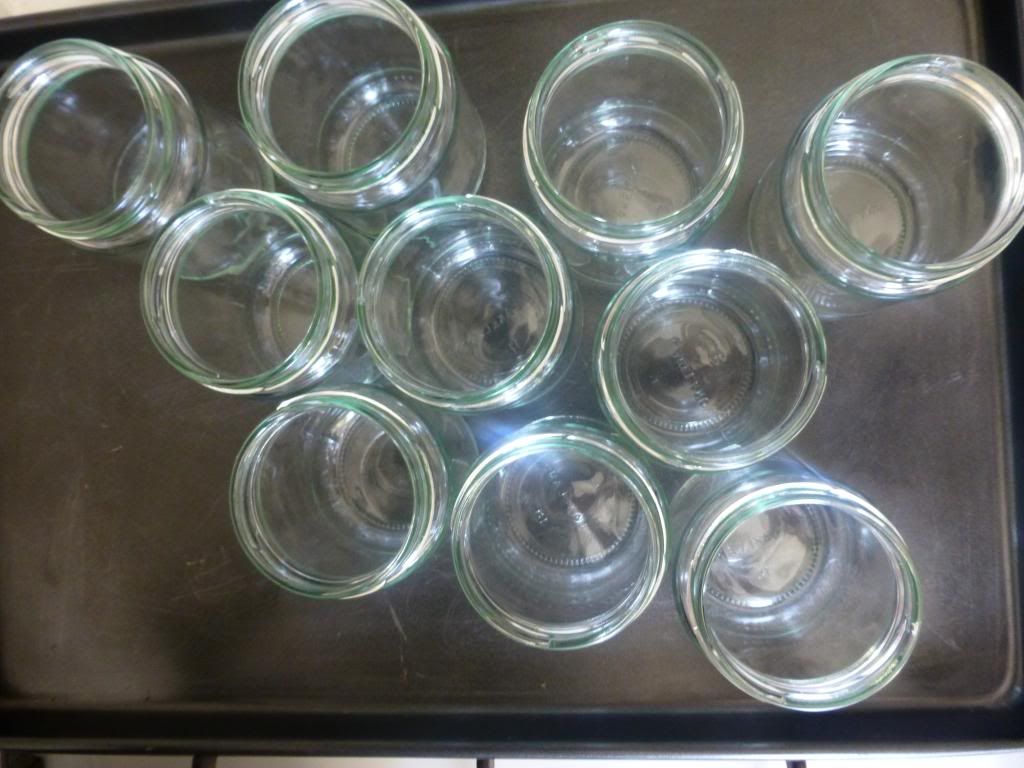
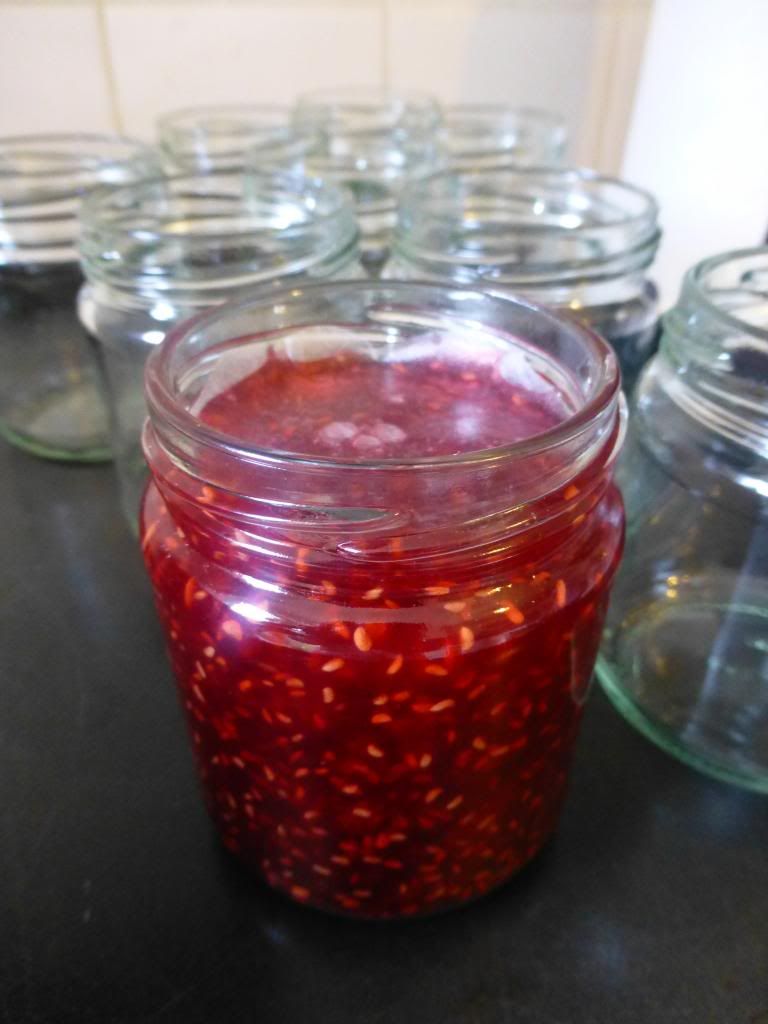
So after prodding a bit of jam, I put it into jars. I prepared the jars beforehand - washed in warm soapy water, rinsed and dried in a cool oven for 15 minutes or so. The jar has to be a similar temperature to the jam to avoid the glass cracking. I used a funnel to pour it into the jars and sealed off the top with a little wax disc. This is all to prevent the jam from going mouldy.


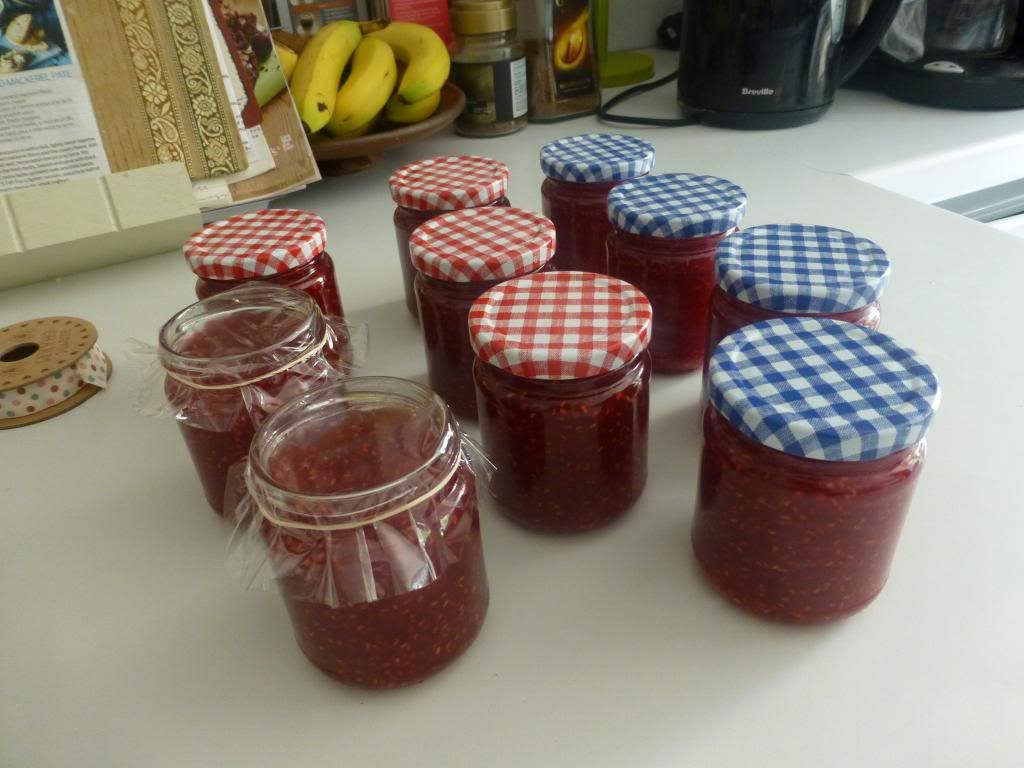
And so there you have it. Raspberry jam. And to last a life time. Anyone want one?


Friday 16 August 2013

Coming up roses.

 Hello there stranger! Big apologies!  This post is a bit out of the blue - it must be coming up to a year since I last posted. Admittedly, I have had quite a busy time and my second year at university has got a bit in the way of this blog malarkey...but it doesn't mean I haven't been baking! I have shared a lovely little house with five other girls and I think they must know by now that I like to bake...just about. Just a little bit. Anyway..I'm sure you have all been on the edge of your seats for this next post *ahem*..so now that the excuses are out the way, I shall proceed!

So roses! I have been wanting to try this for quite a while and I have finally managed to get round to it. One of my favourite wesbites for buying baking equipment and getting tips, www.sewwhite.com,  had a little tutorial on how to pipe a rose and so - quite naturally - I thought I must give this a go.

With a little Hobbycraft session, I found the right icing nozzle - big at the top and small at the bottom - a bit like a tear drop. This makes the petal shape. I also bought some green fondant icing for the leaves - because I'm a little bit lazy.

I made a batch of fairy cakes (Mary Berry style!), let them cool and set about making the buttercream. I tend to improvise with the measurements for this - 3 to 4 tablespoons of soft butter, adding icing sugar (LOTS!) until quite stiff, and a couple of splashes of milk. And then a few drops of food colouring! I also rolled out the fondant icing and cut out the leaves. Next time, I'll make them a bit less chubby looking.

So I prepared the piping bag and followed the tutorial. Sew White made it look so simple...but I think mine turned out ok for a first go!